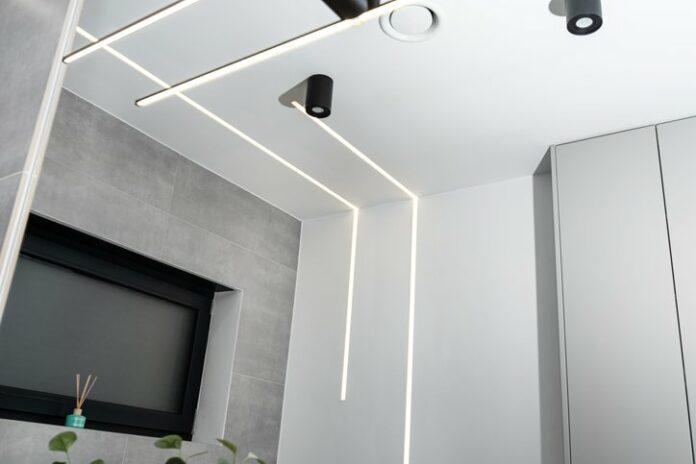
Recessed tap light channels installed in a modern bathroom.
LED strip lights are a fantastic choice for adding a touch of ambiance, versatility, and stylish illumination to your space. But to truly elevate the look of your space, you’ll need the perfect tape light channels to go along with your LED strip lights. These essential accessories enhance the appearance and functionality of your tape lights while providing a seamless and professional installation. In this buying guide, we’ll shed some light on tape light channels, explain their importance, and help you make an informed decision.
Klus EX-ALU profile used to illuminate glass panels.
What are Strip Light Channels?
Let’s get started by clarifying what tape light channels are. Also referred to as extrusions, channel guides, and profiles, tape light channels are designed to provide a clean and concealed mounting solution for your LED strips. Essentially, they turn your LED strips into LED fixtures. They are typically made of durable materials, like aluminum or fiberboard, and come in various shapes and sizes to accommodate different lighting needs.
Tape light profiles can be used with most LED strip lights as long as they fit in the channel. In most cases, all of the necessary components for installing a channel are sold separately.
Benefits of Using Tape Light Channels
Aside from making your strip lights look nicer, you might be wondering what other benefit channel extrusions offer. Tape light channels provide a wide range of benefits, including:
-
Protection: They act as a protective barrier, shielding your tape lights from dust, moisture, and other potential hazards. They also help dissipate heat, ensuring your lights stay cool and perform optimally.
-
Even Light Distribution: Channels help diffuse the light emitted by your tape lights, creating a more uniform and aesthetically pleasing glow. Whether you’re looking for a soft, diffused light or a more focused beam, tape light channels can help you achieve the desired effect.
-
Versatile Installation: With tape light channels, you have the freedom to mount your tape lights in various orientations – recessed, surface-mounted, or even angled. They allow for easy installation on flat surfaces, corners, or curves, making them incredibly versatile for any lighting project.
-
Sleek Aesthetic: Everyone loves an elegant and polished look. Tape light channels provide a sleek and professional finish to your lighting installation, elevating the overall aesthetic appeal of your space.
Aluminum mud-in channel from PLT.
Types of Tape Light Profiles
Tape light profiles come in a variety of styles. At 1000Bulbs, we offer profiles from two different brands: Klus Design & PLT. Klus has been manufacturing tape light profiles for over 15 years and offers a versatile range of profiles for both indoor and outdoor applications. PLT channel guides are relatively new and offer a variety of profiles for indoor applications.
Both brands are broken down into families of compatible products. Klus families are determined by their specific use or application, while PLT products are broken down by their installation method. All accessories are grouped with the profiles, making them easy to find. Some of the most popular tape light profile types include:
-
Surface Mount – profiles that attach to surfaces using various mounting clips.
-
Corner Mount – angled guides that are designed to sit flush into corners for a seamless look.
-
Recessed – profiles that mount flush into surfaces
-
Pendant – profiles that can be suspended using cables
-
Mud-In – recess mount profiles that have flanges, allowing you to mud them into surfaces for a fully seamless look
-
Waterproof/Outdoors – these profiles are sealed against water entry, allowing for outdoor use.
Lighting Tip: While both Klus and PLT offer similar products, they are not interchangeable. They cannot be used with similar products from other manufacturers.
Choosing the Right Tape Light Guides
When it comes to choosing tape light channels, there’s no one-size-fits-all solution. Different channels offer various design options and installation methods, so it’s essential to consider your aesthetic preferences. From slim and discreet profiles that seamlessly blend into your space to bold and eye-catching designs that become a focal point themselves, the choice is yours!
Here are some key factors to consider:
-
Material: While many LED strip light profiles are made of aluminum, some may be made from different materials. Aluminum channels offer excellent heat dissipation and durability. Other materials can be more lightweight or budget-friendly. Consider the specific requirements of your lighting project and choose a material that best suits your needs.
-
Shape and Size: Tape light channels come in a variety of shapes. They also come in various lengths, so make sure to choose guides that can accommodate the length of your tape lights.
-
Installation Method: Consider whether you prefer recessed or surface-mounted guides, depending on your specific installation requirements. Recessed channels provide a more seamless and hidden look, while surface-mounted profiles offer easier accessibility and flexibility.
-
Accessories: Don’t forget to check for additional accessories like end caps, mounting brackets, or lenses that can enhance the functionality and aesthetics of your tape light channels. As mentioned earlier, they are all sold separately from the profile. The only exception, however, is PLT profiles. They come with the lens included.
For instance, if you want to add seamless lights to walls and ceilings, choose mud-in profiles from PLT. Corner profiles such as PAC-ALU, 45-ALU, and PLT corner guides can be used in cabinets, shelves, steps, and more. For installing channels in pavement and sidewalks, look for outdoor rated profiles such as Klus’s HR-Line guides. There are even various profiles for adding lights to stairs.
Below are some common tape light applications using aluminum guides:
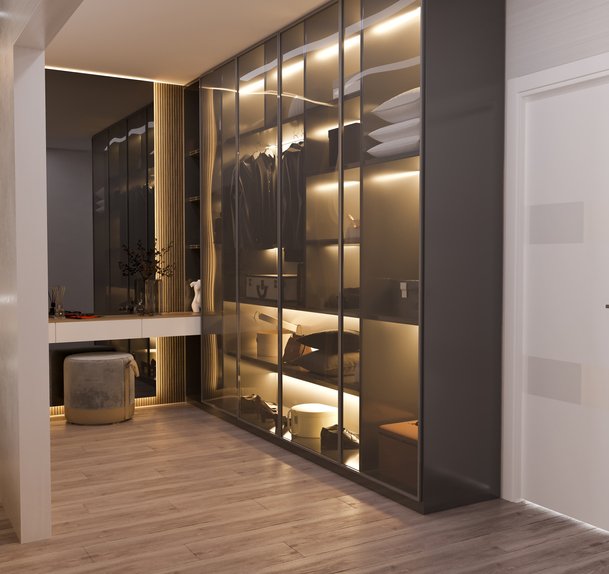
Bright shelf lighting.
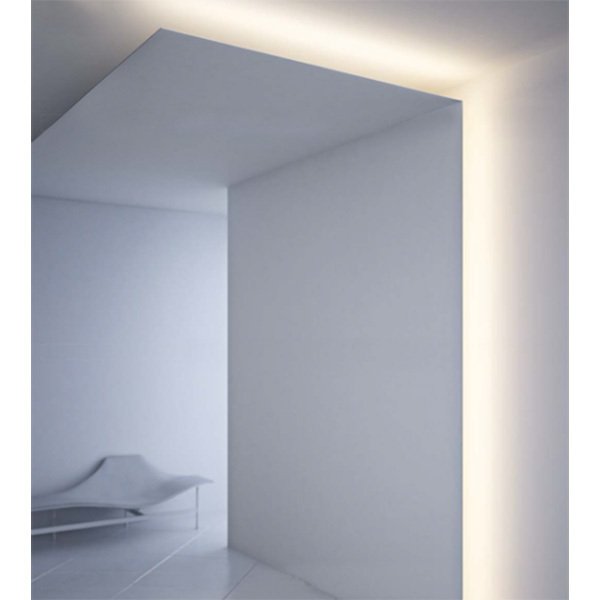
Cove lighting.
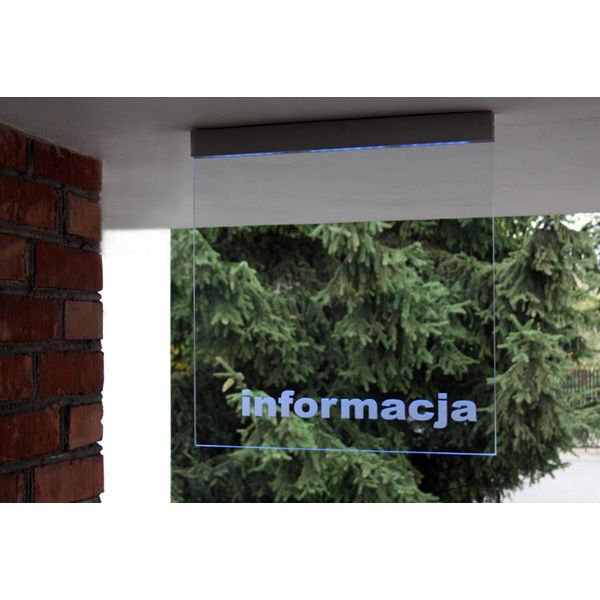
Sign lighting.
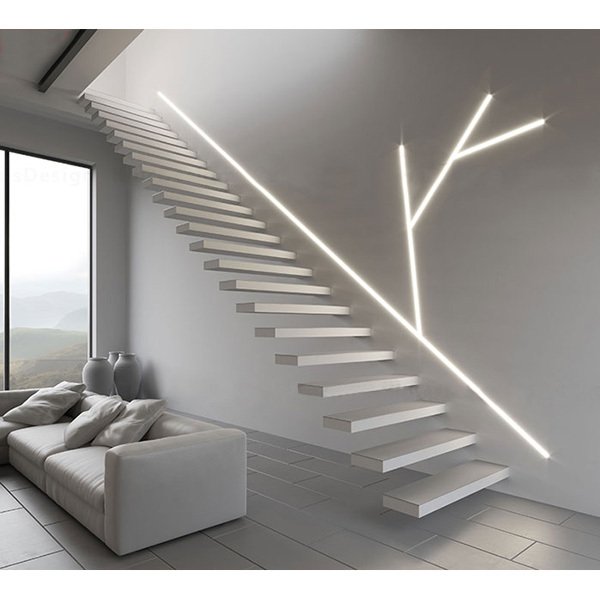
Wall lighting.
Installing Tape Light Profiles
Along with the LED strip and power adapter, a standard profile installation will require the extrusion, lens, connectors, end caps, and mounting accessories. Let’s walk though a simple setup.
First, cut the channel and lens to the desired length if needed. You can use a fine-tooth hacksaw or other appropriate cutting tool. If you need to cut your LED strip lights, first make sure that your strip is cuttable. If it is, then follow the cutting directions. In most cases, there will be notated cutting marks along the length of the LED strip.
Basic tape light application using an aluminum mid-in profile from Klus.
Once your lens, channel, and LED strip have been cut, you can attach the strip to the channel. Most strip lights have an adhesive backing, making it easy to press them down onto the channel. If you are connecting more than one channel together, install any connectors needed. Connectors can come in a variety of types, including straight line connectors, 90-degree connectors, and 120-degree connectors.
Once any connectors are added, the lens can be pressed into place. End caps are then attached to any open ends to seal the channels. One end cap will usually have a hole in order for you to run wires through. The final step is to mount the completed fixture using the desired mounting method.
Brighten Your Space with Confidence
Now that you have a basic understanding of tape light profiles, you can start looking for the perfect ones to pair with your tape light. If you are unsure which channels best fit your application, reach out to one of our lighting experts at 1-800-624-4488. They can help your find the best choice.
blog.1000bulbs.com

