[ad_1]
Sponsored by Gorilla Glue
Now, I know I’m not exactly renowned for my DIY content or for fixing things around the house myself. Handymen are in business because of people like me who outsource the smallest task. And I’ll pretend it’s because I’m too busy doing the juggle, but the truth is, I just don’t have the confidence to give that stuff a go.
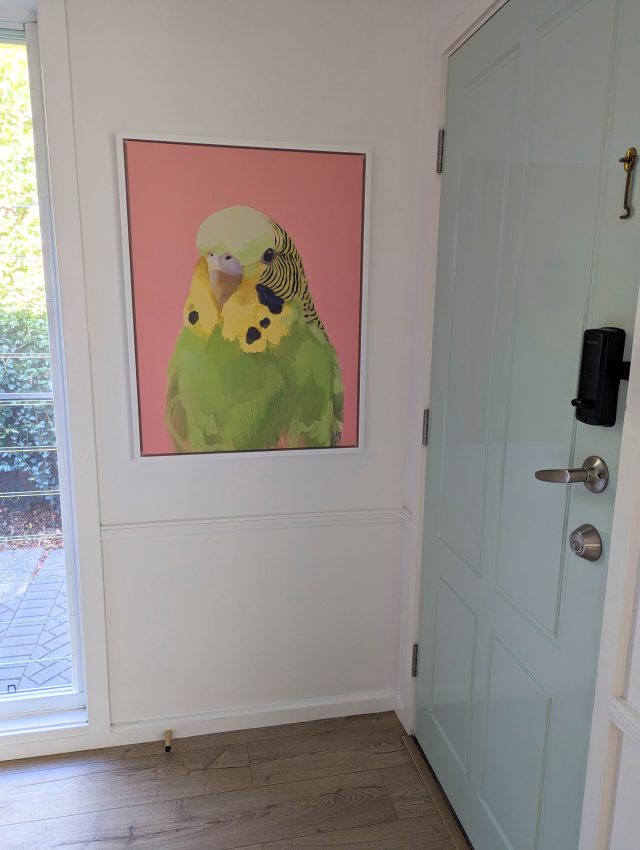
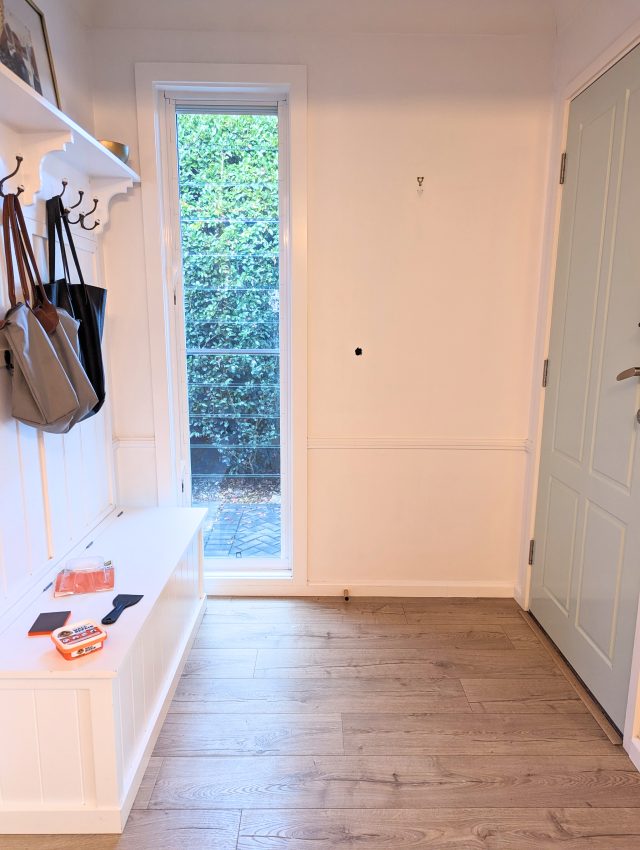
But then Gorilla Glue encouraged me to try their latest DIY product, Gorilla Wall Repair Kit and well! Now I’m feeling all accomplished and like a regular lady tradie! I fixed a hole in our entry that I had hidden behind a large artwork for years. No exaggeration!
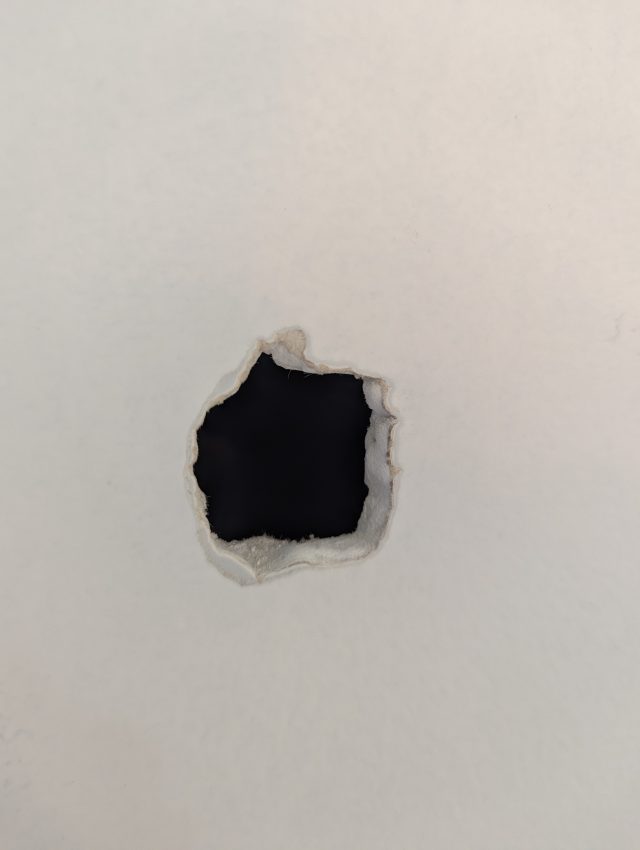
Said hole in wall was caused when the handle on the back of the front door slammed into the wall and there was no doorstop there (there is now!). Oops. My solution? Replace the artwork that was there with a bigger one to hide it. Don’t laugh!
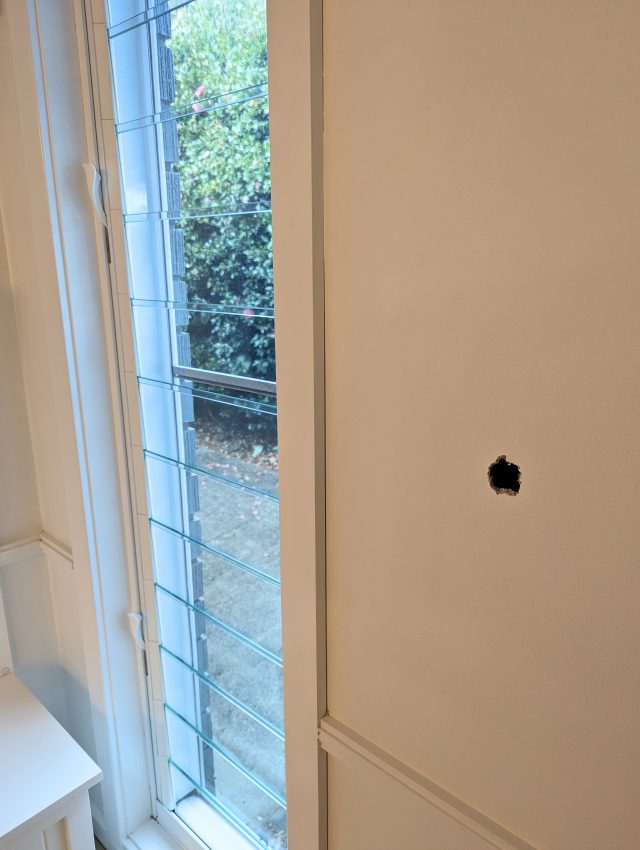
But now with this nifty product, I’ve been able to fix it myself so I wanted to show you how easy it can be. And I’ve heard hallways are one of the most common areas for wear and tear and little oopsies like this. I’m not surprised with the high traffic and the big school bags! Then when you consider moving furniture and other bulky items in and out of the house, and not to mention slamming doors, you can imagine many more entries and hallways than mine have suffered a little damage!
Fortunately, fixing holes in plasterboard is easier than you think, whether you’re a homeowner or a renter.
Here are the four four easy steps I followed to repair holes in walls (which apply to ceilings too):
- Clean the surface
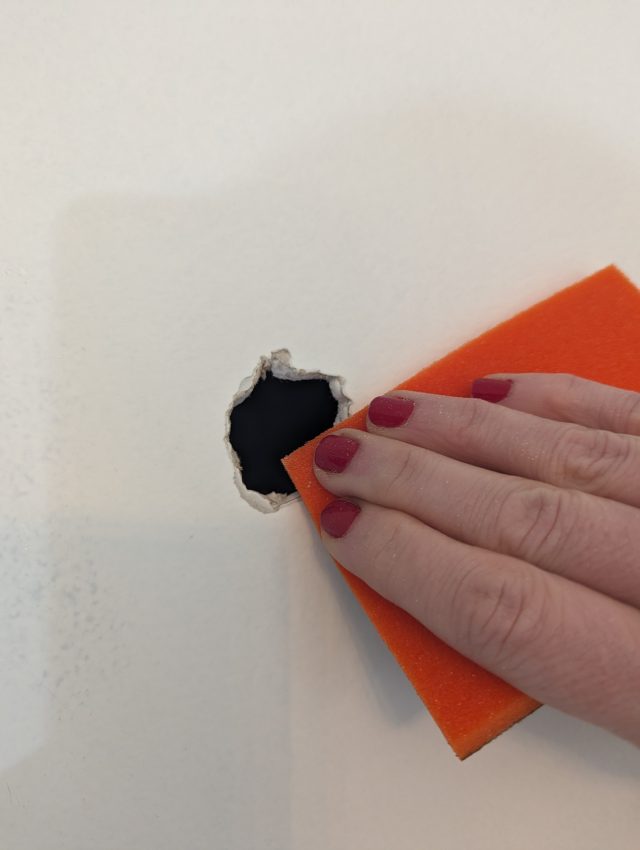
Before you begin, it’s important to clean the area surrounding the crack or hole, removing any dirt, dust or foreign material. Cleaning the area will make sure that once patched, the wall will have a clean and polished finish and will assist in binding the solution to the wall. This can be done using a lightly dampened cloth, or a soft brush. For any hard-to-remove grime, sugar soap is a great cleaning solution.
I also sanded the rough edges of the hole.
- Use a patch or backing
For larger holes, using a patch (which comes in the kit) or a backing is recommended before applying Gorilla Glue’s Wall Repair Kit compound. This acts as a strengthening barrier and prevents further cracking later. Smaller holes like mine (about the size of a golf ball) don’t require a patch or backing.
- Apply compound
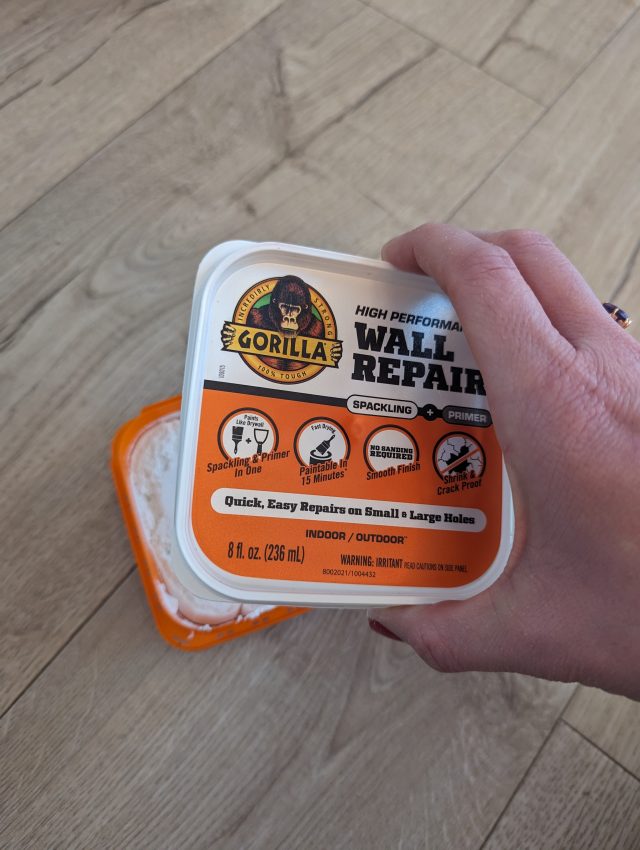
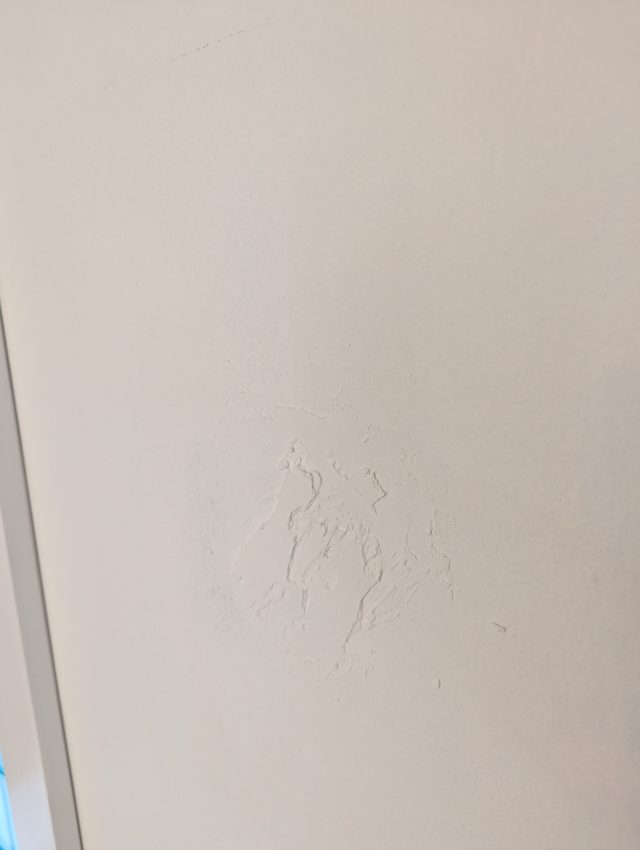
To begin fixing the hole, gently mix the Gorilla Glue Wall Repair Kit compound and apply using a putty knife. The Gorilla Glue Wall Repair Kit compound is a spackling paste and primer in one, simplifying the repair and drying process and allowing for the area to be painted in approximately 15 minutes*. I found this surprisingly therapeutic. A bit like icing a cake. I know, I know, could I sound any more girly right now?!
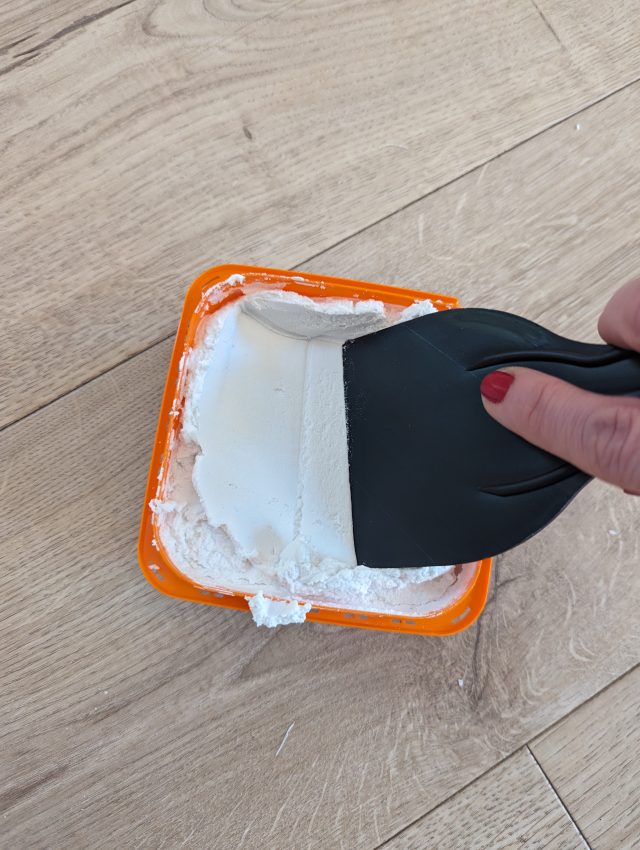
The lightweight formula is easy to spread, control and doesn’t sag, shrink or crack, making it great for tough-to-do areas like curves and corners. Applying generously and ensuring a smooth texture will allow the finished repair to withstand repeated bumps and cracks due to the durable nature of the compound.
- Sand away, prep and paint
Gorilla Glue’s Wall Repair Kit has been formulated to have a smooth texture similar to plasterboard, allowing for a quick DIY project. However, it can be sanded slightly to ensure a uniform finish with your wall, prior to painting.
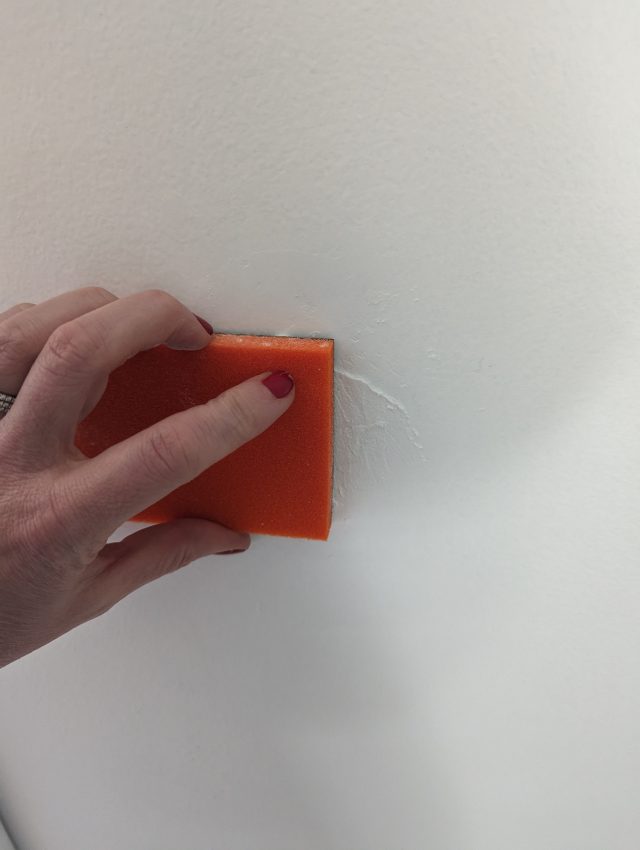
If sanding, make sure you are wearing the correct safety gear and merely sand the patched area to smooth the surface using the sanding block available in the repair kit. After the area has been sanded, remove any remaining dust with a damp cloth. Once clean, simply paint the area with the paint of your choice.
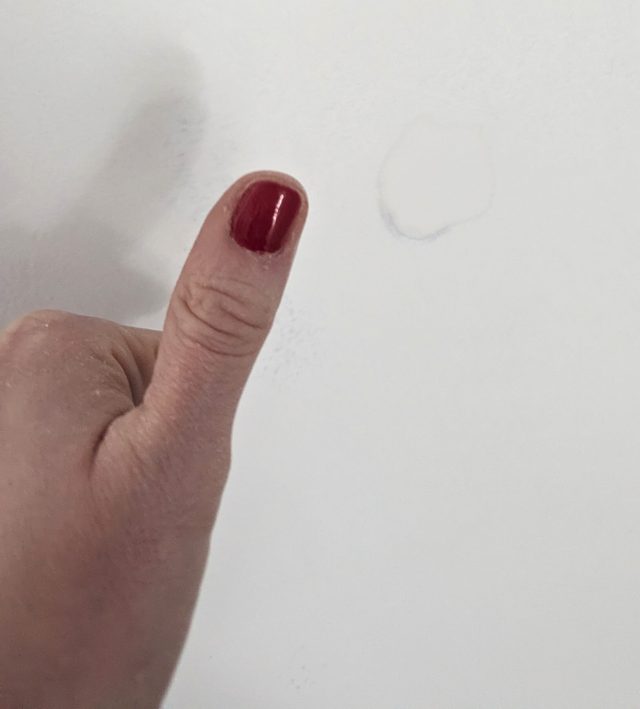
I haven’t finished the job by painting yet but I promise not to leave it years like I did with the hole, okay?!
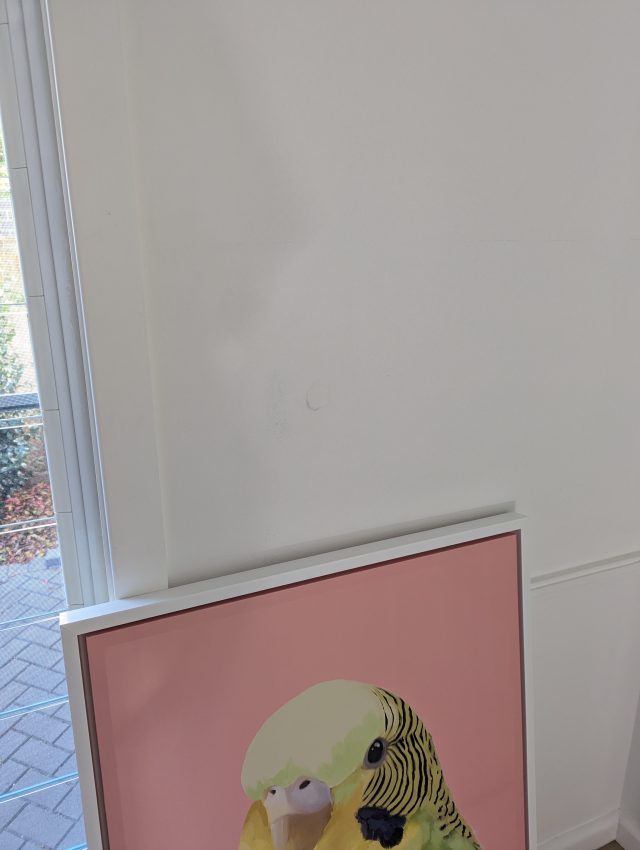
I have to admit this was thoroughly satisfying!
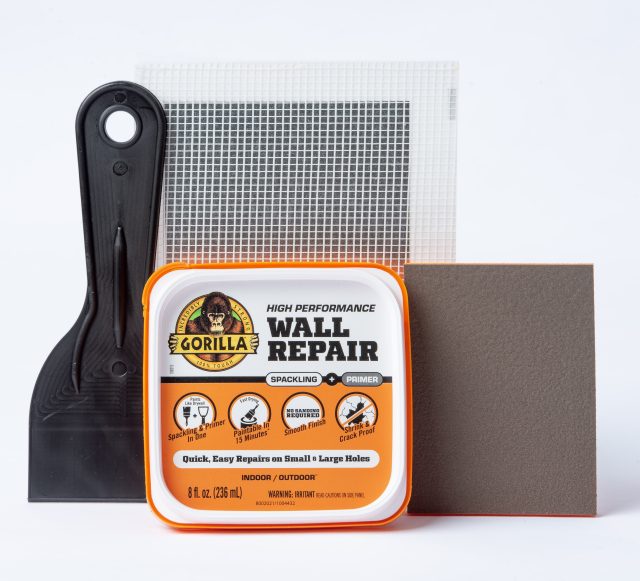
The Gorilla Glue Wall Repair Kit is available from Bunnings Warehouse nationally for RRP $24.98. The kit includes spackling, a 4” self-adhesive patch, a 3” putty knife and a sanding block.
For more information
The post New Gorilla Glue product makes fixing holes in walls easy as appeared first on The Interiors Addict.
[ad_2]
theinteriorsaddict.com


