[ad_1]
‘DIY fear factor’ is that hesitancy to roll up your sleeves and do an easy repair, maintenance or craft project yourself.
It’s OK if nobody ‘taught’ you how to tackle a DIY paint job — we believe in you!
You may just need a few pointers to help you understand the right tools and techniques for the task. We’ve asked professional painter Mark O’Connor to share his top tips to a successful DIY paint job.
Get quality brushes
If you think you don’t know how to paint because you’ve done it before and it didn’t turn out as you wanted, the problem could have been poor quality brushes and rollers.

For a professional look and finish, Mark advises purchasing brushes that actual painters would use, such as the range from Monarch.
“They not only give a much more professional smooth finish, but they hold their shape which makes them much easier to use, they pick up and release more paint giving better coverage — and they actually save you time,” he explains.
Learn how to load a paint brush
There is a proper way to load a paint brush or roller — and Mark has the professional scoop.
“You only need to dip your brush into paint about a third of the way up the filament,” he says. “If you dip your brush into paint the whole length of the hairs, you are wasting paint and causing the top half of the brush to simply dry out.”

After the brush is loaded, Mark stresses to tap — not wipe — the brush against the edges of the paint tin.
For rollers, don’t submerge the entire roller in the well of the paint tray, Mark says.
“If you do this, the ends of the roller get covered in paint and the roller will splatter paint everywhere when you roll,” he explains.
“To load it properly, start with your roller on the ‘grill’ of the tray. Roll it down the grill until it touches the paint and starts to load. Then roll it over and over, touching the paint, until all the roller has paint on it.
“Roll it up and down the grill of the tray several times to evenly spread paint around your roller. Now you are ready to paint properly!”
Take care with extra steps before starting
There is a bit of prep involved in a DIY paint project. Mark had a few tips to get the job off to a good start.
- Wet your brushes
Another tip from Mark is to ensure your brushes and rollers are moist before you start. This helps them pick-up and release paint properly.

“Soak your brush in an inch of water for 15 minutes before using, then shake or spin out excess water,” he says.
“Wash your roller under a tap for two minutes, running your hand around the roller, then squeeze and shake out the excess moisture. You can even put the roller on a roller frame and ‘spin’ it several times down a wall or a door to remove all excess moisture.”
- Stir your paint
The pigment of your paint can be unevenly mixed in your tin. Ensure you give it a proper stir with a stirring stick before you start painting so you don’t end up with an uneven paint job.
- Clean surfaces
Whatever you’re painting, whether it’s walls or furniture, ensure the surface is clean before you start.
For instance, if you don’t wash your walls — and let them dry — properly before painting, you’re just going to be painting dust and debris into your paint job.
Keep it simple
If it’s your first DIY paint job, perhaps keep it simple and avoid complex patterns or more than one colour.

“Using one colour on all surfaces allows you to use the same paint product for the first coat — at least — on all surfaces, ceilings, walls and trims,” Mark starts.
“Then, you only need a special trim paint to finish off trims and, being the same colour as your ceilings and walls, it’s so much easier and quicker to finish the trims perfectly.
“You also don’t need to use masking tape to protect surfaces you don’t want paint on because all surfaces are being painted with the same paint and same colour.”
Not having to mask certain areas will save you valuable time on the job!
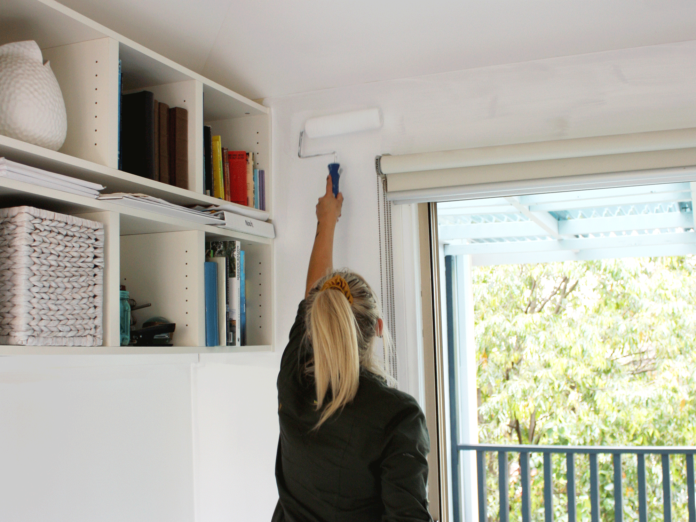
All pictures supplied by Monarch.
The post How to tackle DIY fear factor appeared first on realestate.com.au.
[ad_2]
www.realestate.com.au


