[ad_1]

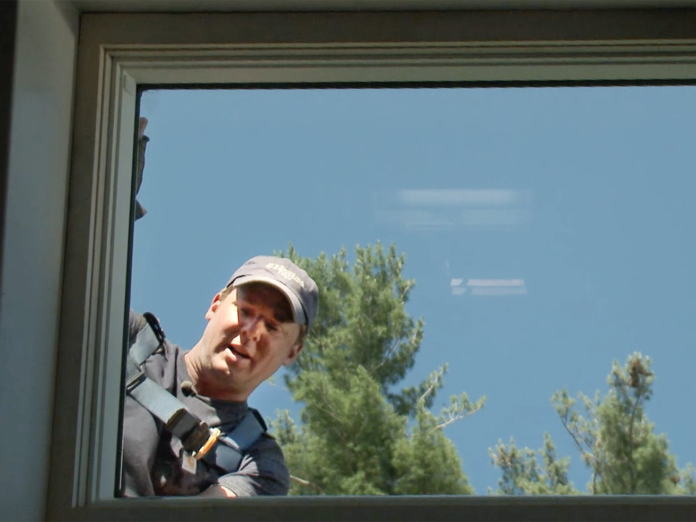
This Old House general contractor Tom Silva installs a new skylight into an existing roof opening
In this video, This Old House general contractor Tom Silva installs a new skylight into an existing roof opening.
Steps:
- To work safely on a roof, install roof brackets and a staging plank, and wear a fall-protection safety harness.
- Use a flat pry bar to remove two courses of roof shingles along the top of the skylight.
- Pry off shingles down both sides of the skylight, exposing at least 12 inches of roof deck.
- Save the removed shingles for reuse later.
- Pry the old skylight out of the roof opening.
- Fasten extension jambs to the grooves running around the inside of the skylight frame.
- Next, screw filler strips alongside the extensions on all four sides of the frame.
- Glue and nail wood trim on top of the extensions, cutting them to fit the size of the existing roof opening.
- Adhere a strip of self-sealing membrane along the roof shingles directly below the skylight opening. Be sure to overlap the upper edge of the shingles with the membrane.
- Set the new skylight into place, centered on the opening.
- Drive 1½-inch roofing nails through the nailing flange on the skylight. Space the nails 6 to 8 inches apart.
- Adhere a strip of self-sealing membrane along the bottom of the skylight. Overlap the previous membrane and allow it to lap up onto the skylight frame.
- Slit the ends of the membrane with a utility knife so that they lie flat on the roof deck.
- Cut a short piece of membrane to fit along each side of the skylight. Press and stick the flashing to the roof deck, overlapping the previously installed membrane, and up each side of the skylight frame.
- Slide the preformed aluminum flashing into place along the bottom of the skylight.
- Press the flashing tight against the base of the skylight, then secure each end by nailing through the flashing and into the skylight frame.
- Begin reinstalling the roof shingles, starting at the bottom of the skylight. Be careful not to nail through the aluminum flashing.
- Adhere a long strip of self-sealing membrane up both sides of the skylight. Be sure to overlap the upper edge of the lower strip of membrane.
- Set a piece of aluminum step flashing on top of the shingle, then nail the flashing to the side of the skylight.
- Install the next shingle, followed by another piece of step flashing. Continue in this manner to shingle and flash up both sides of the skylight.
- Seal the top of the skylight with a long strip of self-sealing membrane. If there’s a void or exposed seam in the roofing felt, apply the second strip of membrane.
- Snap counter flashing to the bottom and sides of the skylight.
- Install counter flashing along the top of the skylight, nailing it to the roof.
- Bend over and engage the locking tab on each side of the head flashing to secure it to the skylight.
- Cover the counter flashing at the top of the skylight with a strip of self-sealing membrane, then nail on the remaining roof shingles.
- Caulk around the inside of the skylight trim.
Tools
[ad_2]
www.thisoldhouse.com


