[ad_1]

Get insider tips and a step-by-step guide for concrete floor leveling.
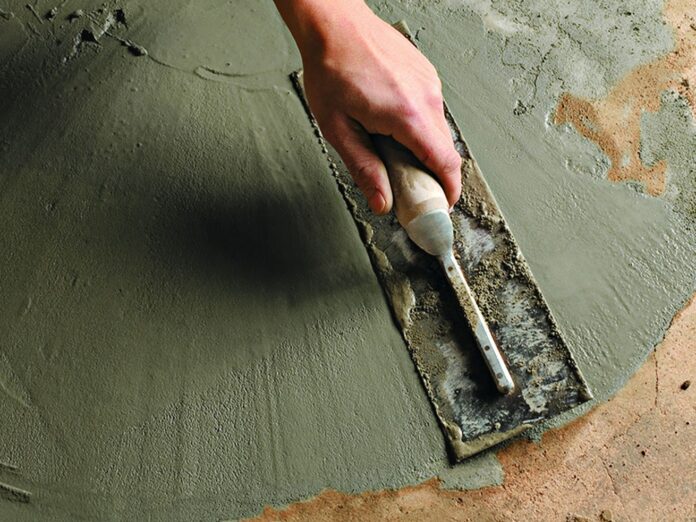
The first step to making the most of any basement is to achieve a level floor. Happily enough, leveling uneven concrete slabs has an easy fix that won’t sacrifice your headroom. The easiest way is to use a self-leveling compound, also called liquid floor underlayment or floor resurfacer, within sections of level-cut rails. The material flows out like thick syrup, then hardens into a smooth, perfectly level surface, sometimes in less than an hour. The only places you’ll lose any appreciable headroom will be in the slab’s low spots.
For basements, you should use a compound that contains Portland cement rather than gypsum because it won’t be affected by moisture. Before you pour, give the existing slab a thorough cleaning with a degreaser to remove any contaminants that might interfere with achieving a strong bond.
Step-by-Step Instructions for Leveling a Concrete Floor
- To resurface an uneven concrete slab, begin by laying a long, straight, 2×4 wooden rail across the concrete-slab floor, with one end positioned on the high point in the room.
- Slip shims under the low end of the 2×4 rail until it’s perfectly level, then use a scribing tool to transfer the unevenness of the floor onto the rail.
- Match the scribe bottom to the surface of the floor; this will allow you to trace the uneven contour of the slab.
- Next, cut the rail along the scribed line with a circular saw.
- Set the scribed 2×4 rail back into position on the floor and check to see if it’s level. If necessary, scribe and cut it again.
- Press the scribed rail into the slab and secure it with construction adhesive.
- Bore pilot holes through the rail and into the concrete using a hammer drill fitted with a carbide-tipped masonry bit. It’s important to pre-bore these holes to avoid splitting the rail.
- Fasten the rail to the slab with masonry nails, then lay a second 2×4 rail across the floor, setting one end on top of the first rail.
- Shim the second rail level with the first, then adjust the scribing tool to the height of the second rail.
- Draw a short reference line onto the second rail, then widen the legs of the scribing tool to span from the floor up to the reference mark.
- Guide the scribing tool along the floor to transfer its unevenness onto the second rail.
- Repeat the trimming and installation steps you performed with the first rail on the second, then cut a third 2×4 rail to span across the two previously installed rails.
- Adjust the scribing tool to the height of the rail underneath one end of the third rail.
- Draw a short reference line onto the third rail, then adjust the scribing tool to span from the floor up to the reference mark.
- Follow the floor with the scribing tool to mark a cut line along the third rail, then cut and install it just as you did the previous two rails.
- Use a ½-inch drill fitted with a mixing paddle to stir together with a bucket of leveling compound. The mixture should be the consistency of thick batter.
- Slowly pour the leveling compound inside the perimeter of the rails. Slightly overfill them, then strike off the excess compound using a screed made from a 6-inch-wide straight-edged board. This will create a smooth, even surface.
- Allow the leveling compound to cure overnight and repeat this process to level the floor in other parts of the room as necessary. Before you install flooring over the resurfaced slab, check the installation instructions to be sure the compound is dry enough.
Tools:
[ad_2]
www.thisoldhouse.com


