[ad_1]
As I’ve mentioned several times, my latest passion is sculpting with clay. My eight week ceramics class has inspired my new found hobby so getting my hands on clay to form it into shapes is a bit of an obsession in the moment.
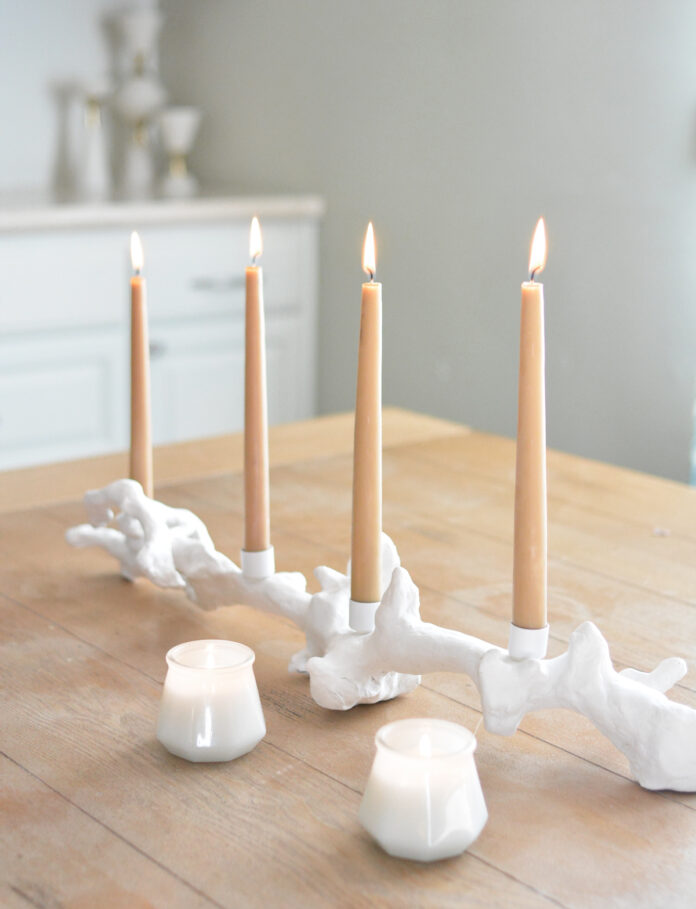
I wanted to create a candelabra for future holiday table settings, one that was simple yet organic in its form. I used a branch as the base and sculpted the form with air dry clay.

Grapevine branches are $40 or more so instead I purchased a pair of small bird perches and attached them together with hot glue. Using existing branches as the base saved me the stress of sculpting a branch on my own.

The branches were wrapped in clay and sculpted inch by inch to create the random organic structure.
. 

Supplies: 2.2 lb modeling clay; rolling pin; thick curvy branch; water; ¾” copper cap fittings (to hold candles); white spray paint; hot glue; taper candles.
The project is quite simple, but will take an hour of your time. Locate a thick branch with some movement. Cut air dry clay into long strips and thin it out with a rolling pin. Use those strips in pieces to wrap around the branches. Sharper corners or edges need an extra layer of clay.
Once the branch is wrapped in clay use your fingers to form it around the edges of the branch. To create a smooth surface, dip your fingers in a small amount of water and work the moisture around the surface of the clay. It took me about 45 minutes to fully sculpt the elongated branch so be patient with it and enjoy the process, it feels good! Reserve a few ounces of clay wrapped in plastic for patching if necessary.
Allow the branch to dry a full 24 hours in a warm dry place. Once it’s fully dry you may observe a few cracks where the clay shrunk down as the moisture evaporated. Fill any cracks with remaining clay, smooth like before, and allow to dry.
The taper candle caps are copper fittings found in the plumbing department at a home improvement store (see link above). I spray painted them white and secured them to the sculpted branch with hot glue. I also used the level on my phone with the candle in the cap fitting to make sure they would burn straight!

All that effort will give you the most unique candelabra for your holiday tablescapes!


If you’d like to make your centerpiece stand out even more, below are some sources for unique taper candles in some really beautiful colors.

fancy tapers / beeswax dipped
hand dipped pastels / swirl tapers

gradient set

twisted tapers / square tapers

bright pastels

earthy colors / custom colors

fancy tapers – multiple colors

soft pastel tapers
[ad_2]
centsationalstyle.com


