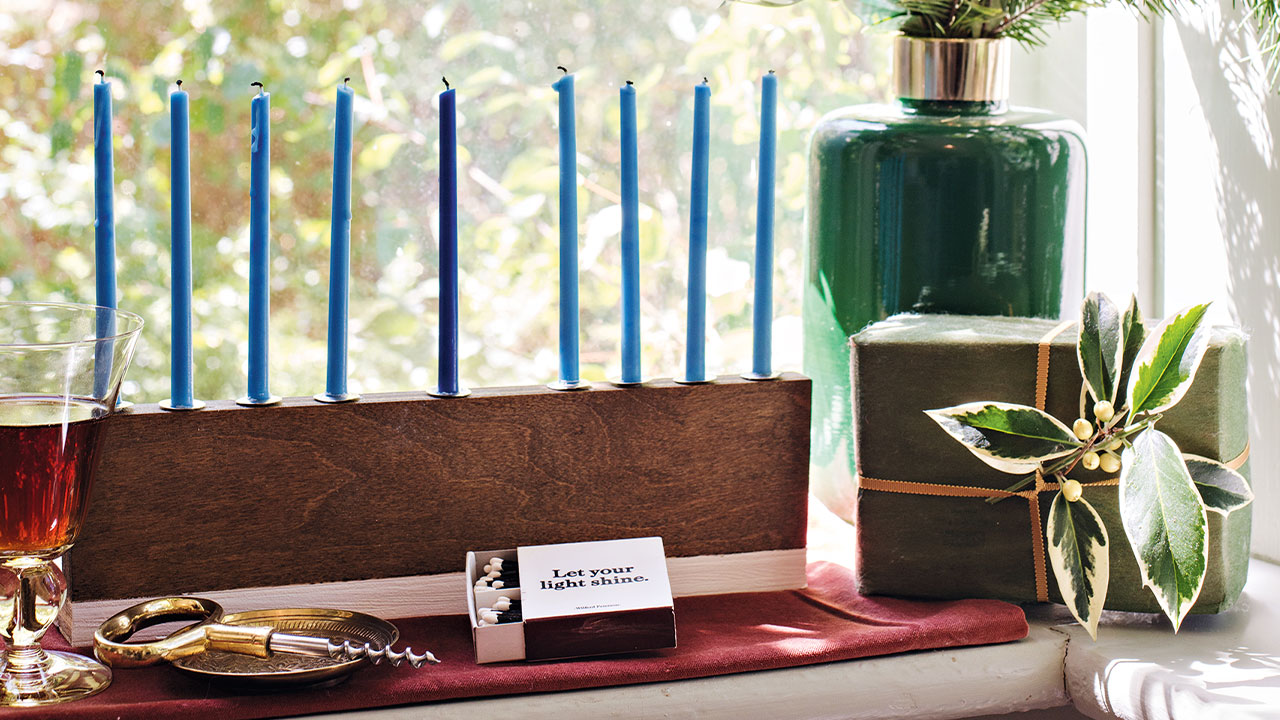
This DIY Menorah is the ultimate Hanukkah gift and holiday craft idea!
What You’ll Need:
- 2 pieces of 18″ x 4″ wood
- Wood glue
- Painter’s tape
- Wood stain
- Rag or paintbrush
- Acrylic paint
- Drill
- Candleholders
- Candles
How To Create A Menorah:
- To create an L-shaped base for your menorah, glue the long edge of one piece of wood to the bottom face of the other piece.
- Once the glue is dry, use painter’s tape to section off a 3⁄4″ strip at the bottom.
- Using a rag or paintbrush, apply wood stain to the top portion. (You may need to apply 2 or 3 coats to achieve your desired shade.) Let the stain dry, then carefully remove the tape.
- Now, tape off the unstained portion and paint it with acrylic paint.
- Once the paint is dry, carefully remove the painter’s tape.
- With a drill outfitted with a bit the size of your candleholders, drill 9 holes into the top edge of the menorah: one for each night of Hanukkah, plus the shammash.
- Set the candleholders into the holes (they should fit snugly) and add your candles.
The post DIY: Create Your Own Rustic Menorah appeared first on House & Home.
houseandhome.com


