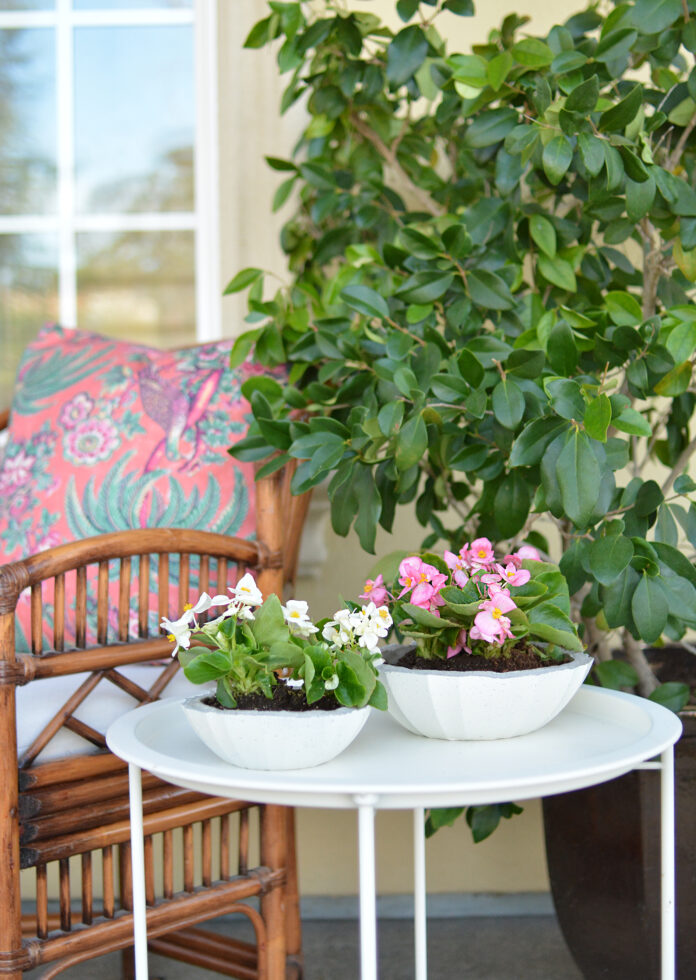
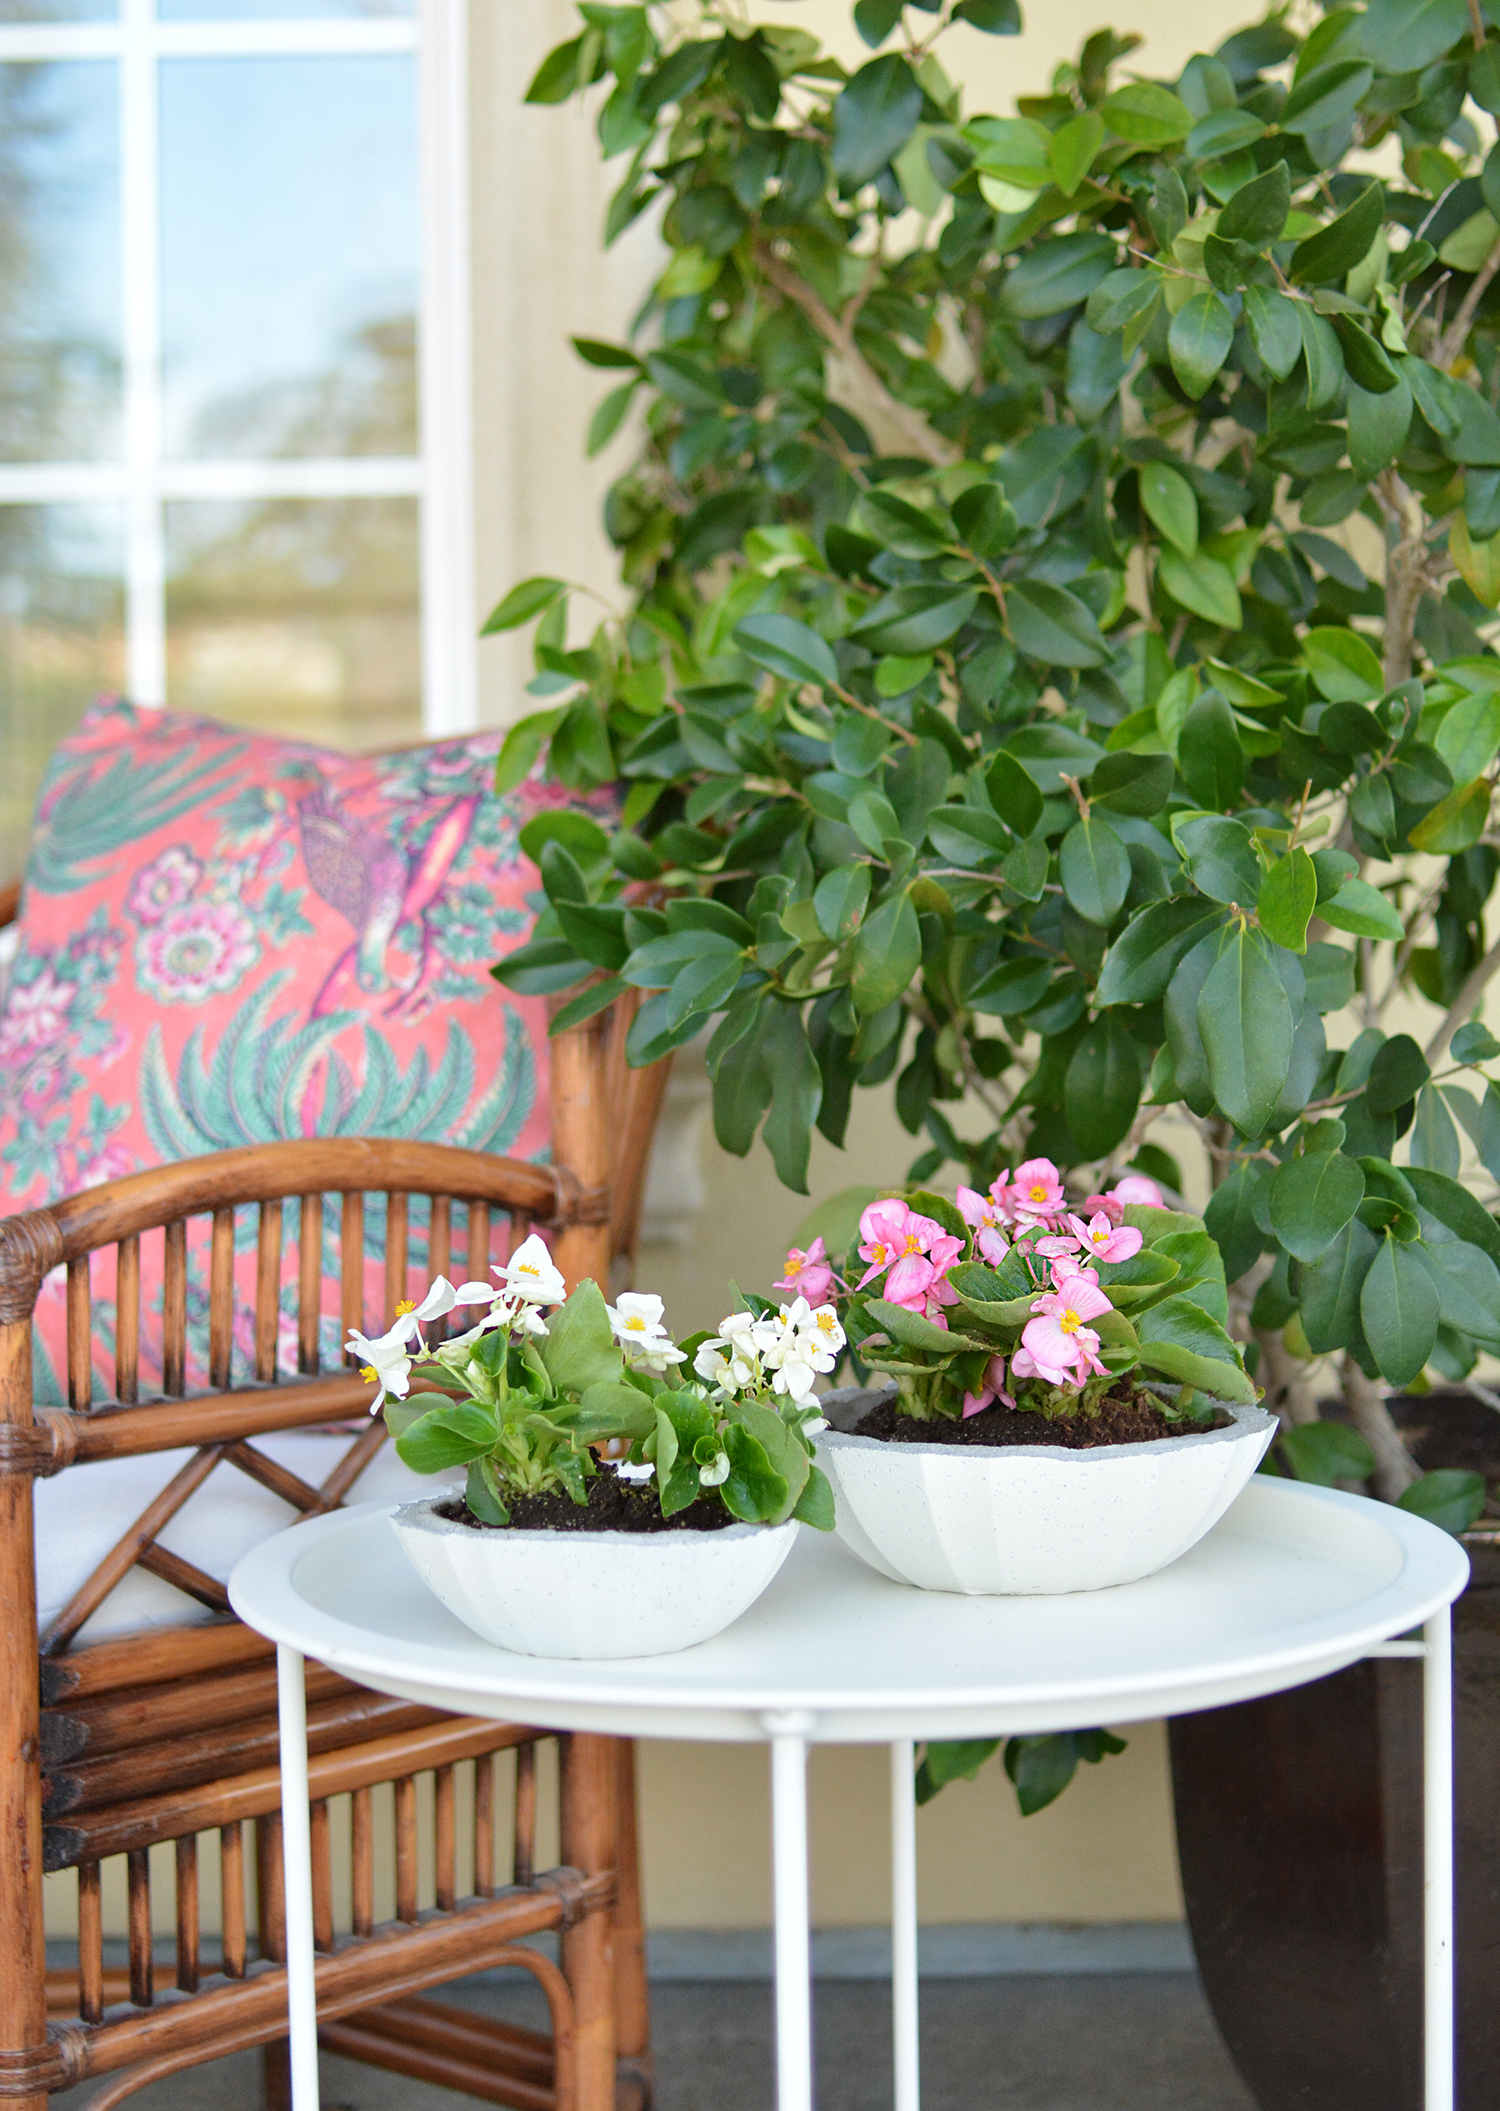
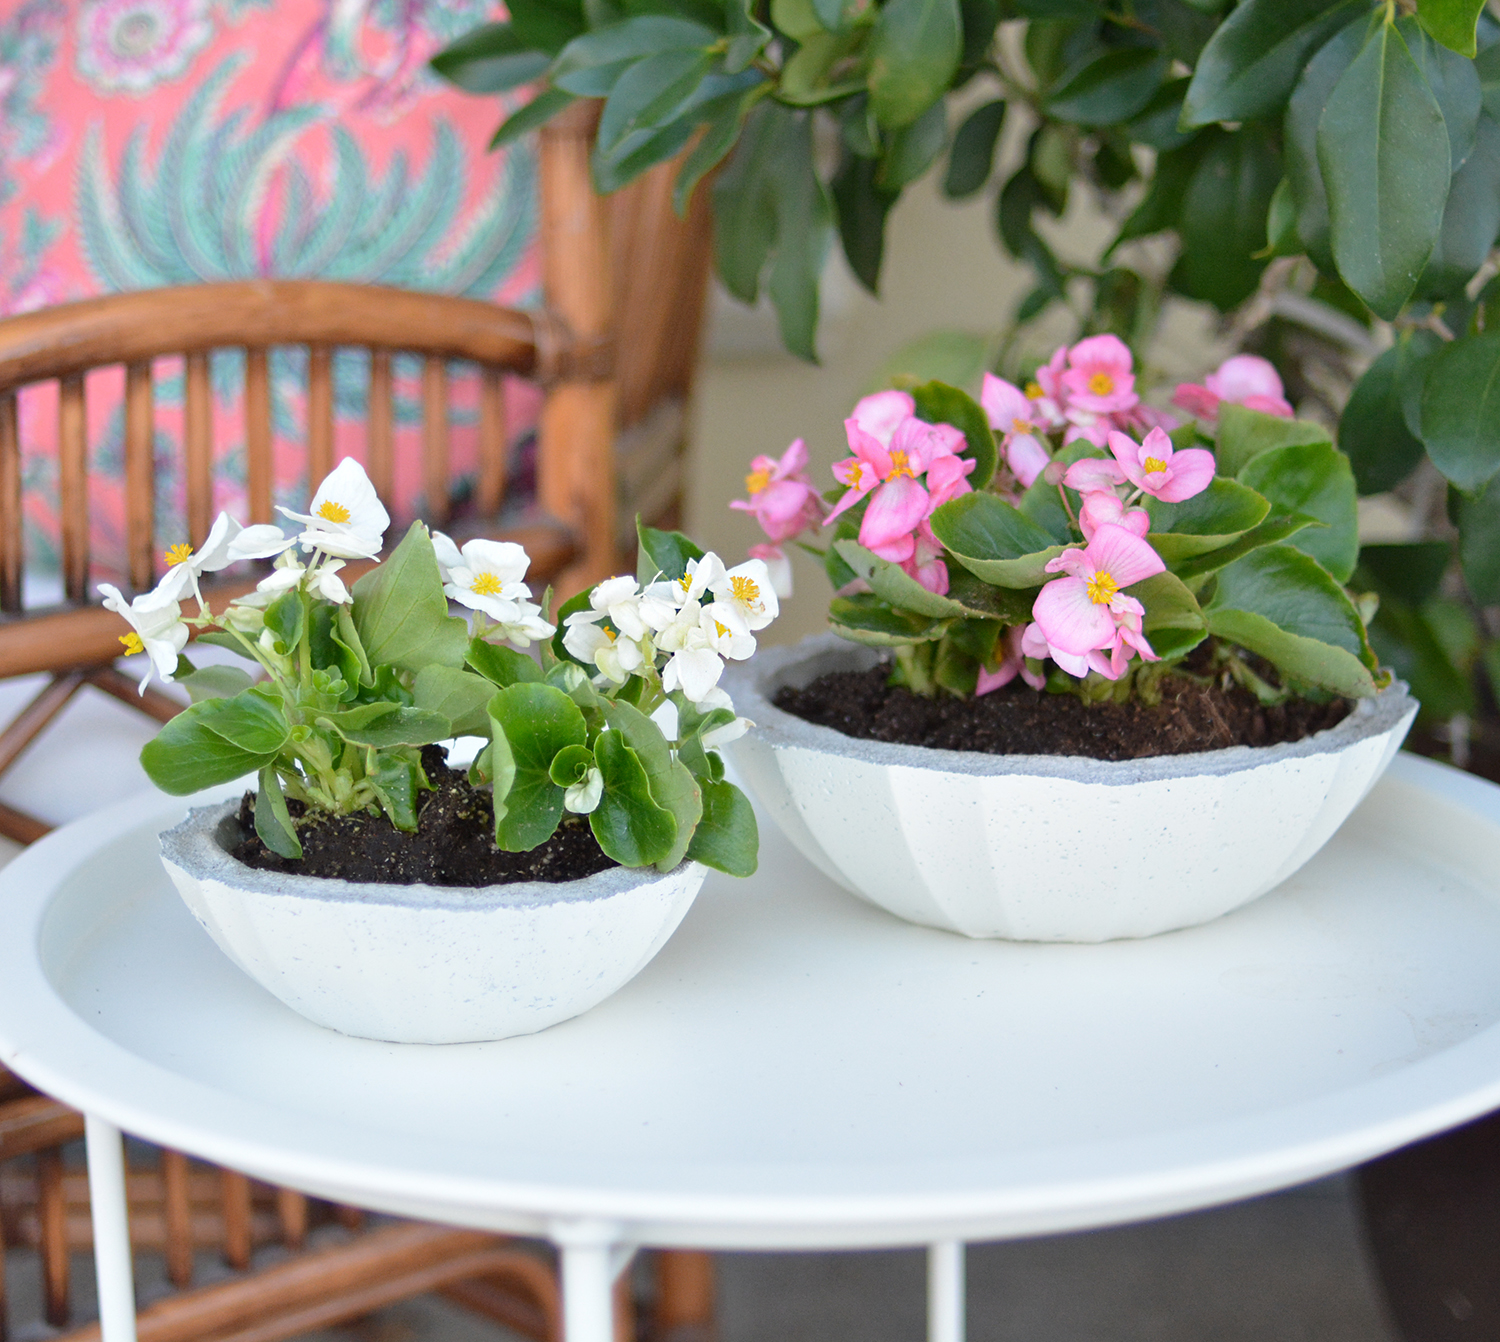
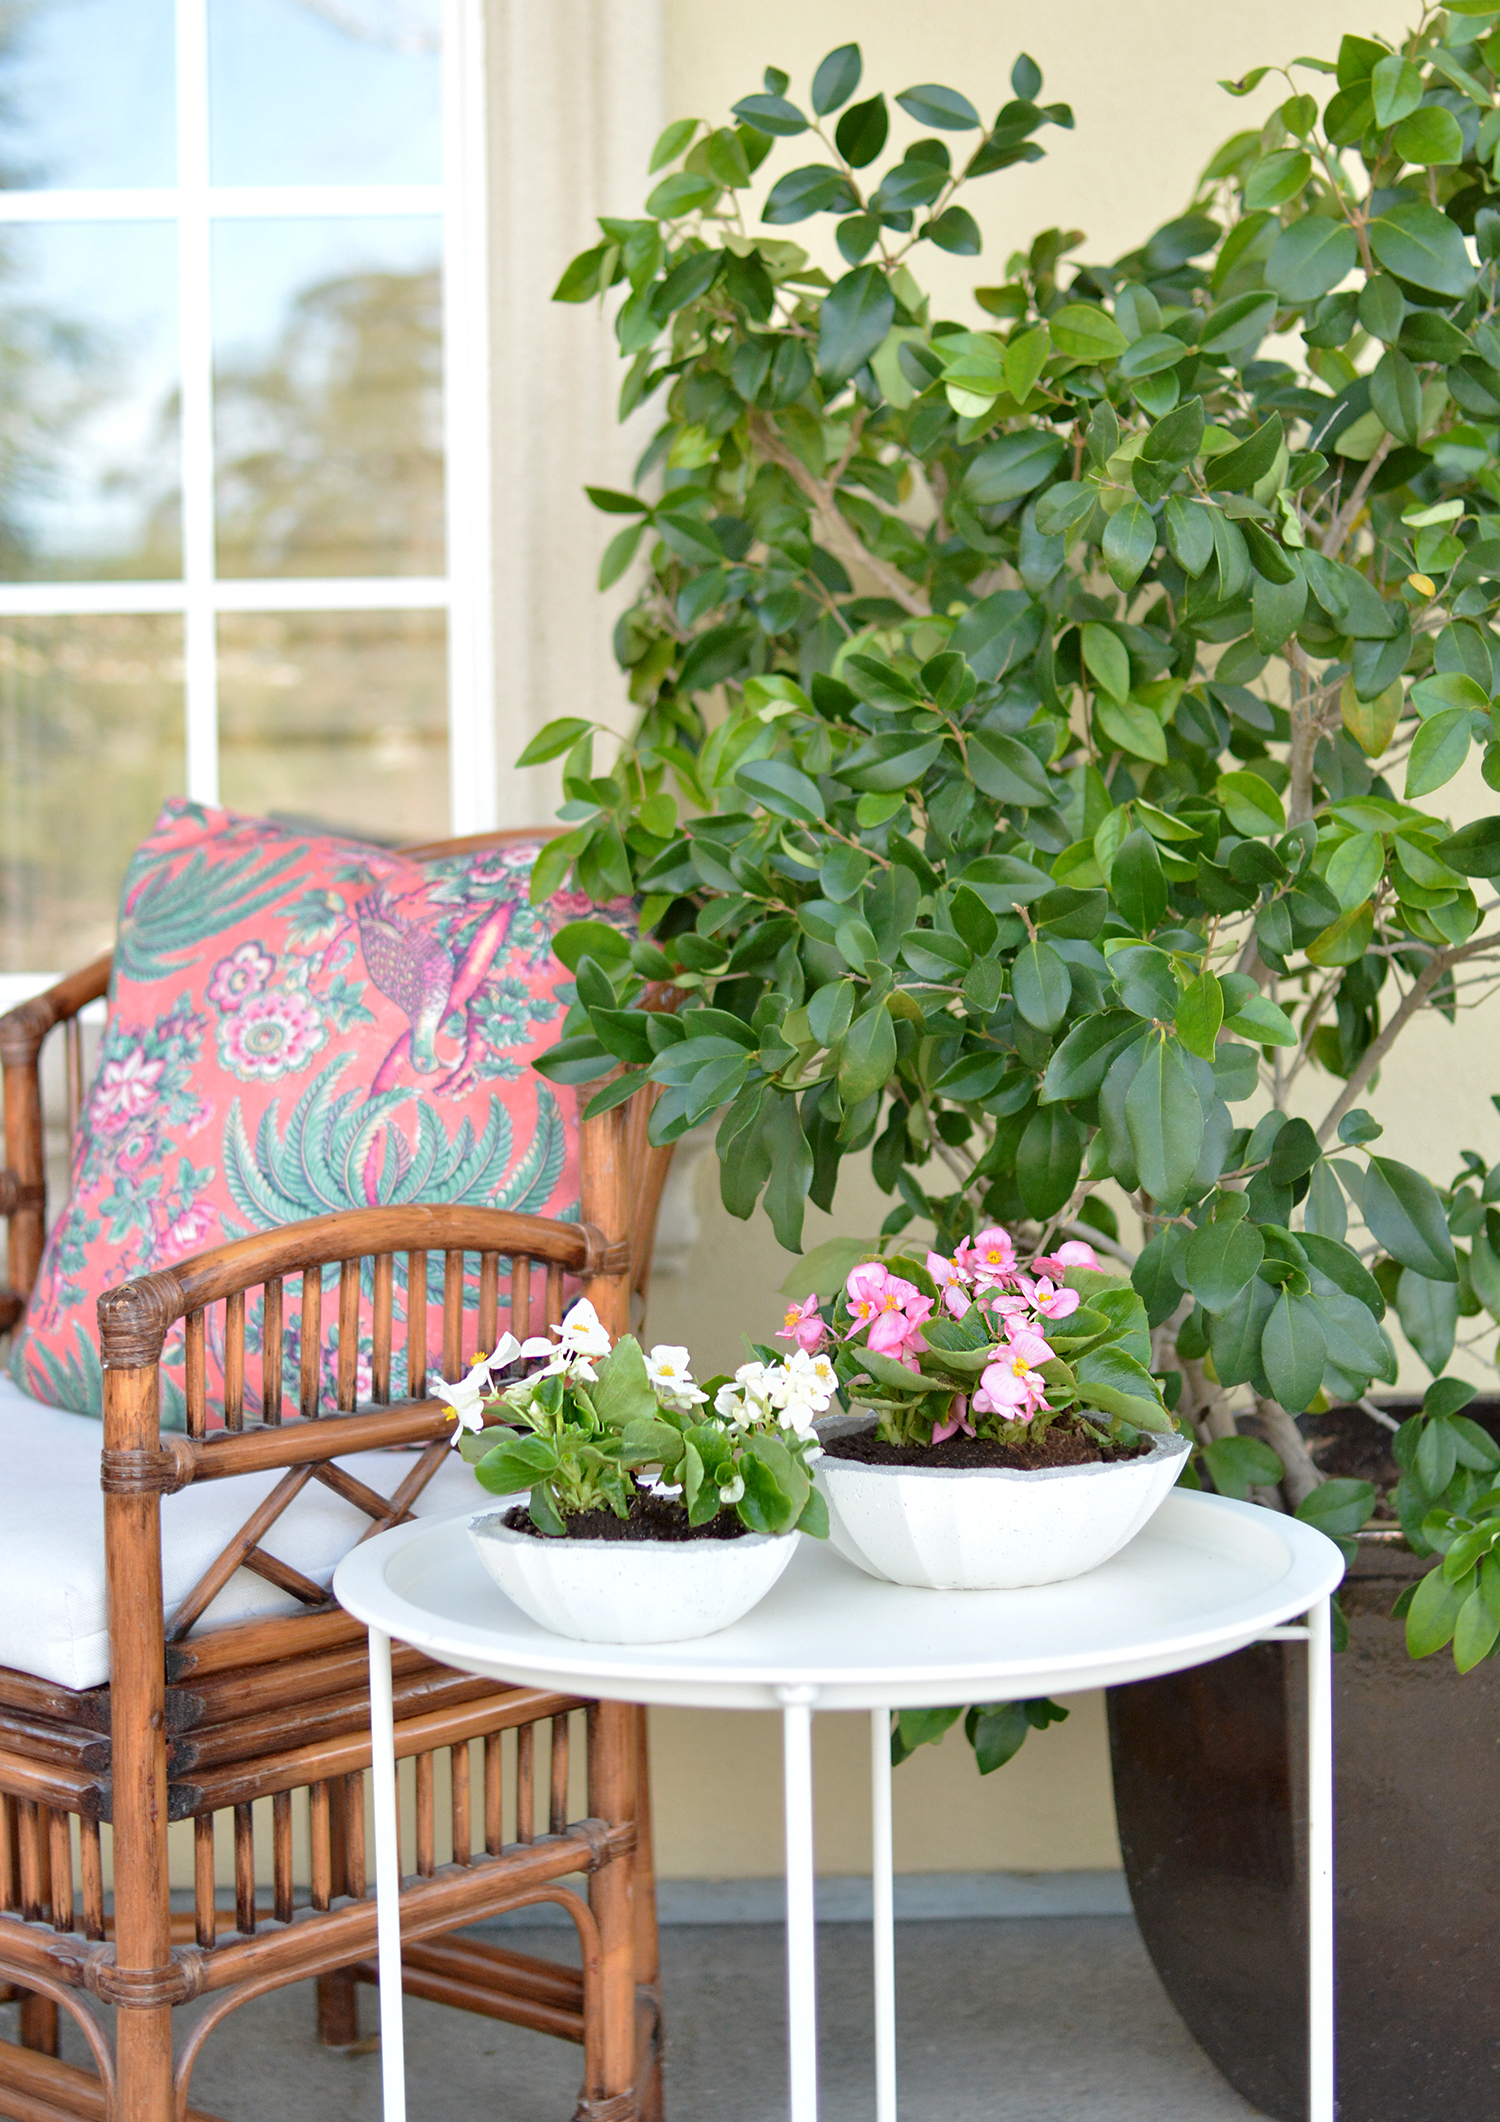
I had a set of acrylic nesting bowls I had planned to use to make plaster molds for my clay creations, but on second glance decided they’d make good forms for cement planters too. I chose them because the textured pattern is on the inside of the bowl not the outside, so it allows the outside of the planters to have the interesting ridged shape.
These planters you can create in one afternoon, they’re simple to make with small amounts of cement and make unique tabletop planters for flowers or succulents. Spring has arrived here in California so this was the perfect little project to add some seasonal annuals to the front porch.
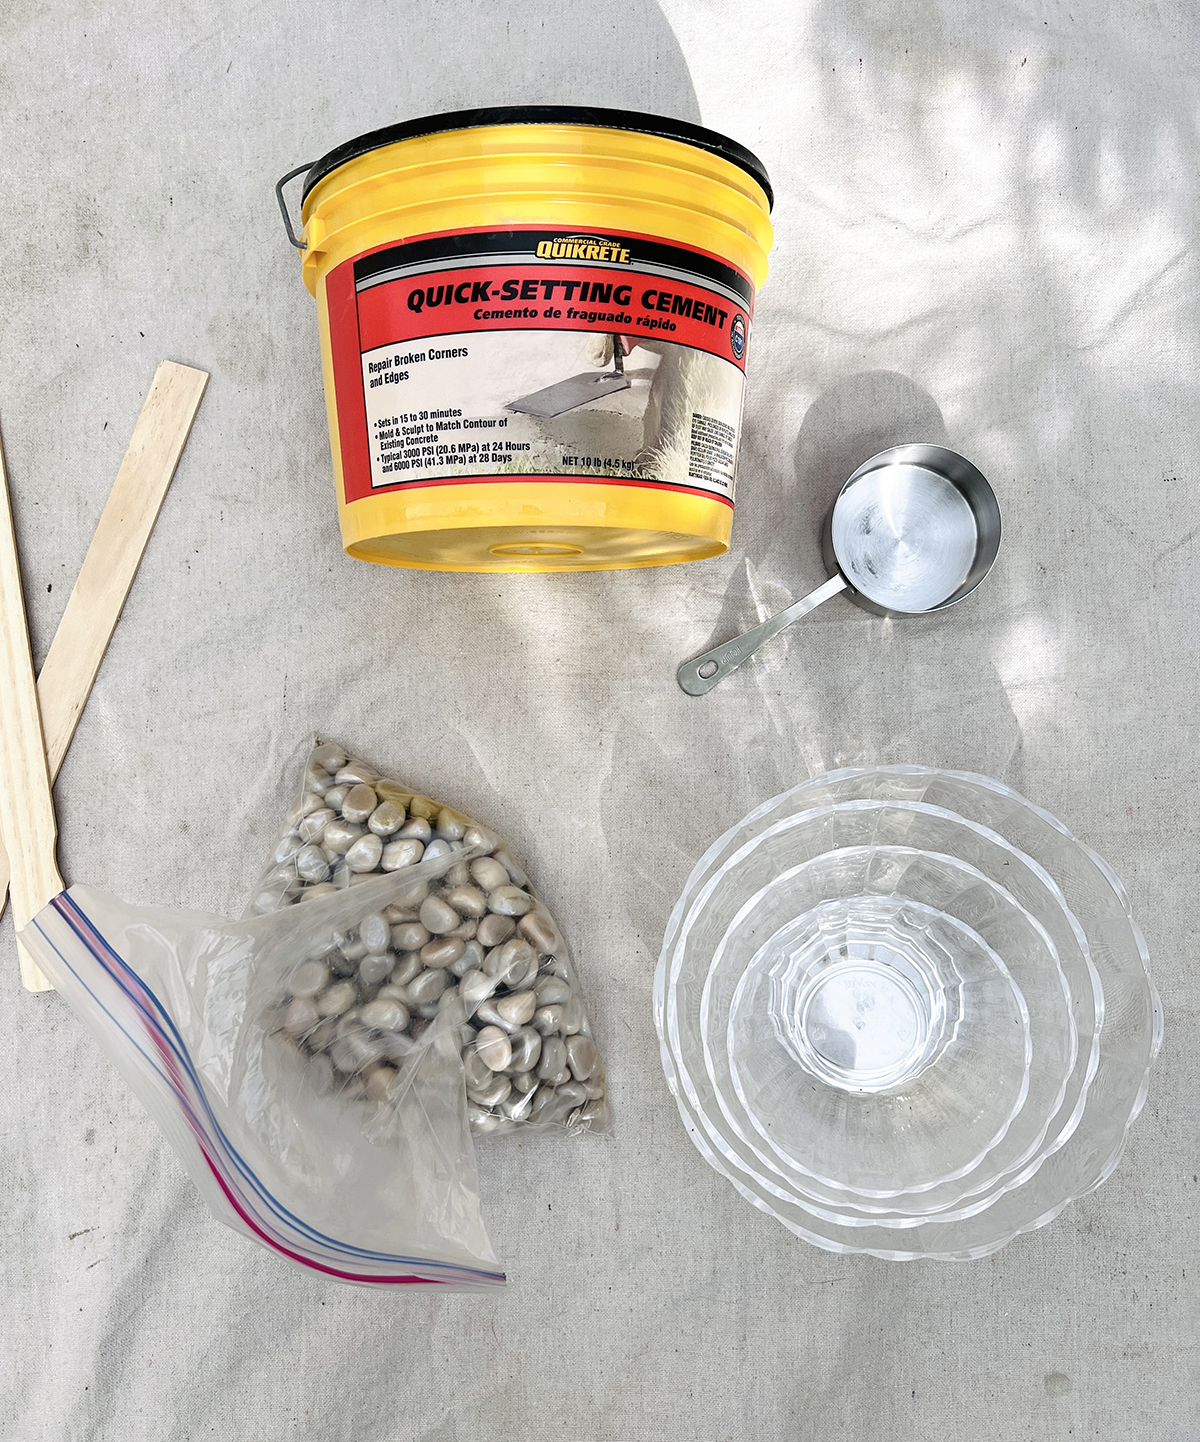
Supplies to recreate these planter bowls: set of four acrylic bowls; quick setting cement; tarp; bucket & stir stick; vegetable or olive oil; measuring cup; pebbles or rocks for weights; spray paint (optional); soil & flowers.
Step One: Prep the inside and outside of the bowls by applying a light coat of oil with a paper towel to help the cement release. Mix the cement as directed and pour into the bowls so they are filled halfway. Use the next smaller size bowl to nest inside the larger bowl and gently push it down to displace the cement so it forms the planter walls. Use the pebbles or rocks as weights to hold the smaller acrylic bowl down as it sits inside the larger bowl.
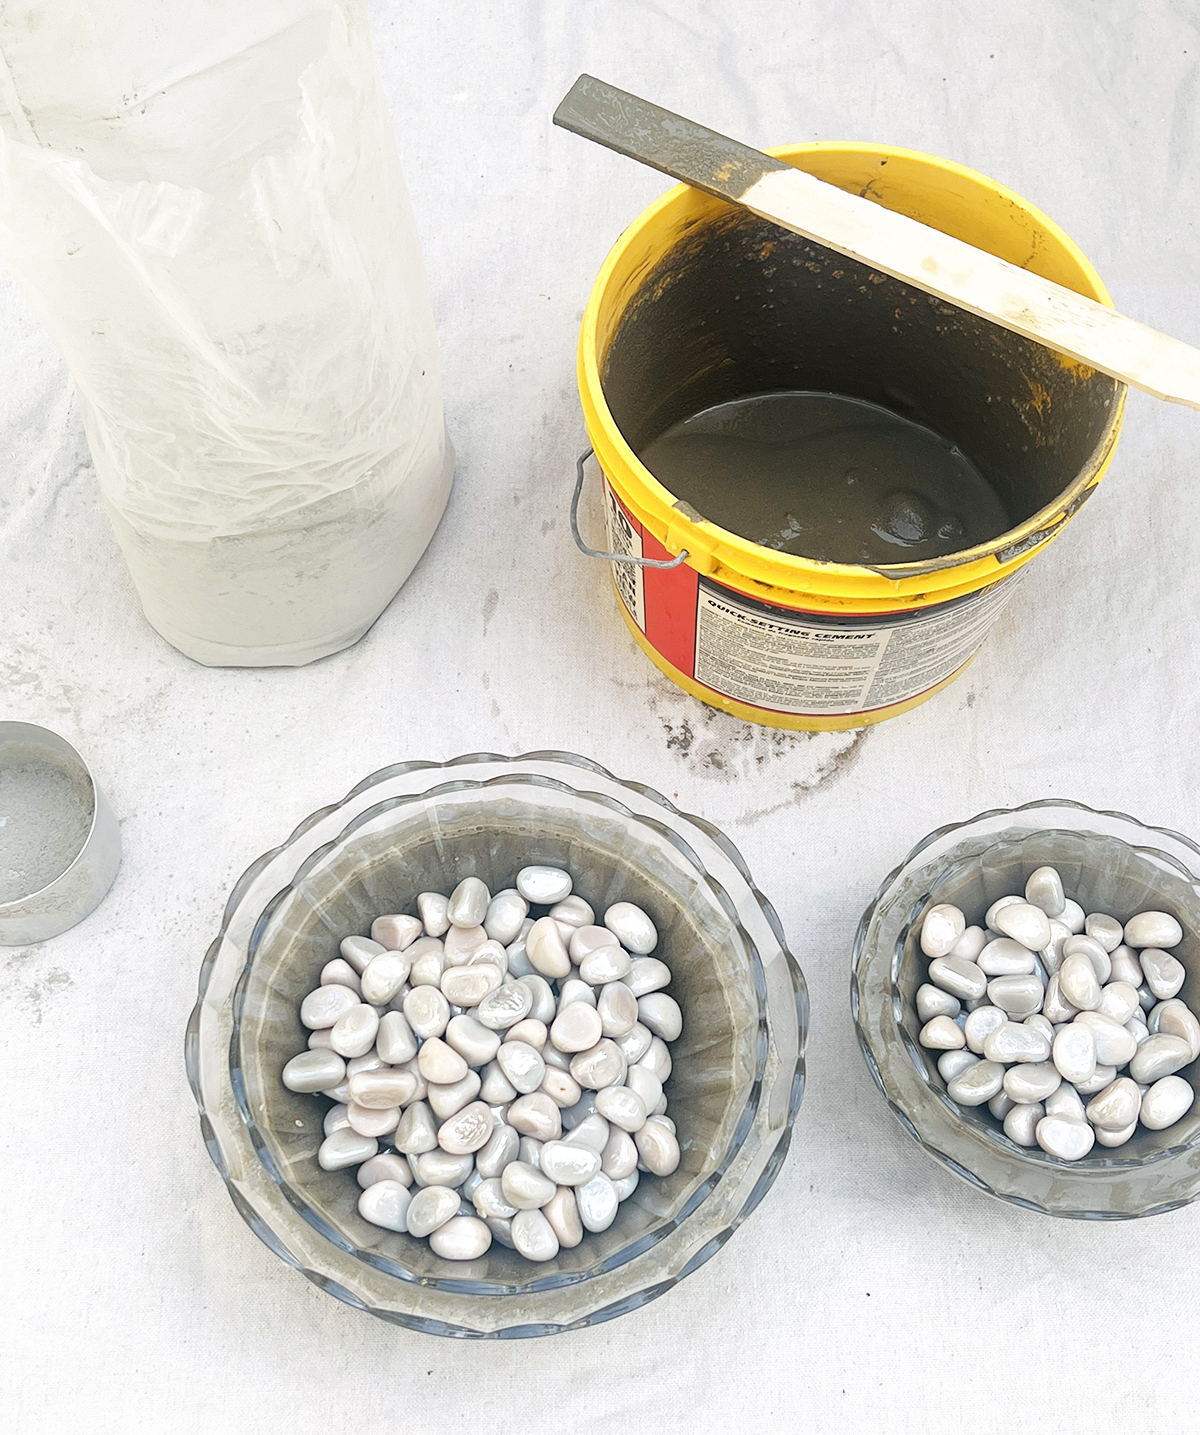
Step Two: Allow the cement to dry to the point the planter shape is formed but not completely solid. (In my case, I removed the inside bowl after 45 minutes once the cement had set, then used a chopstick to create a small hole in the bottom while the cement was still soft.)
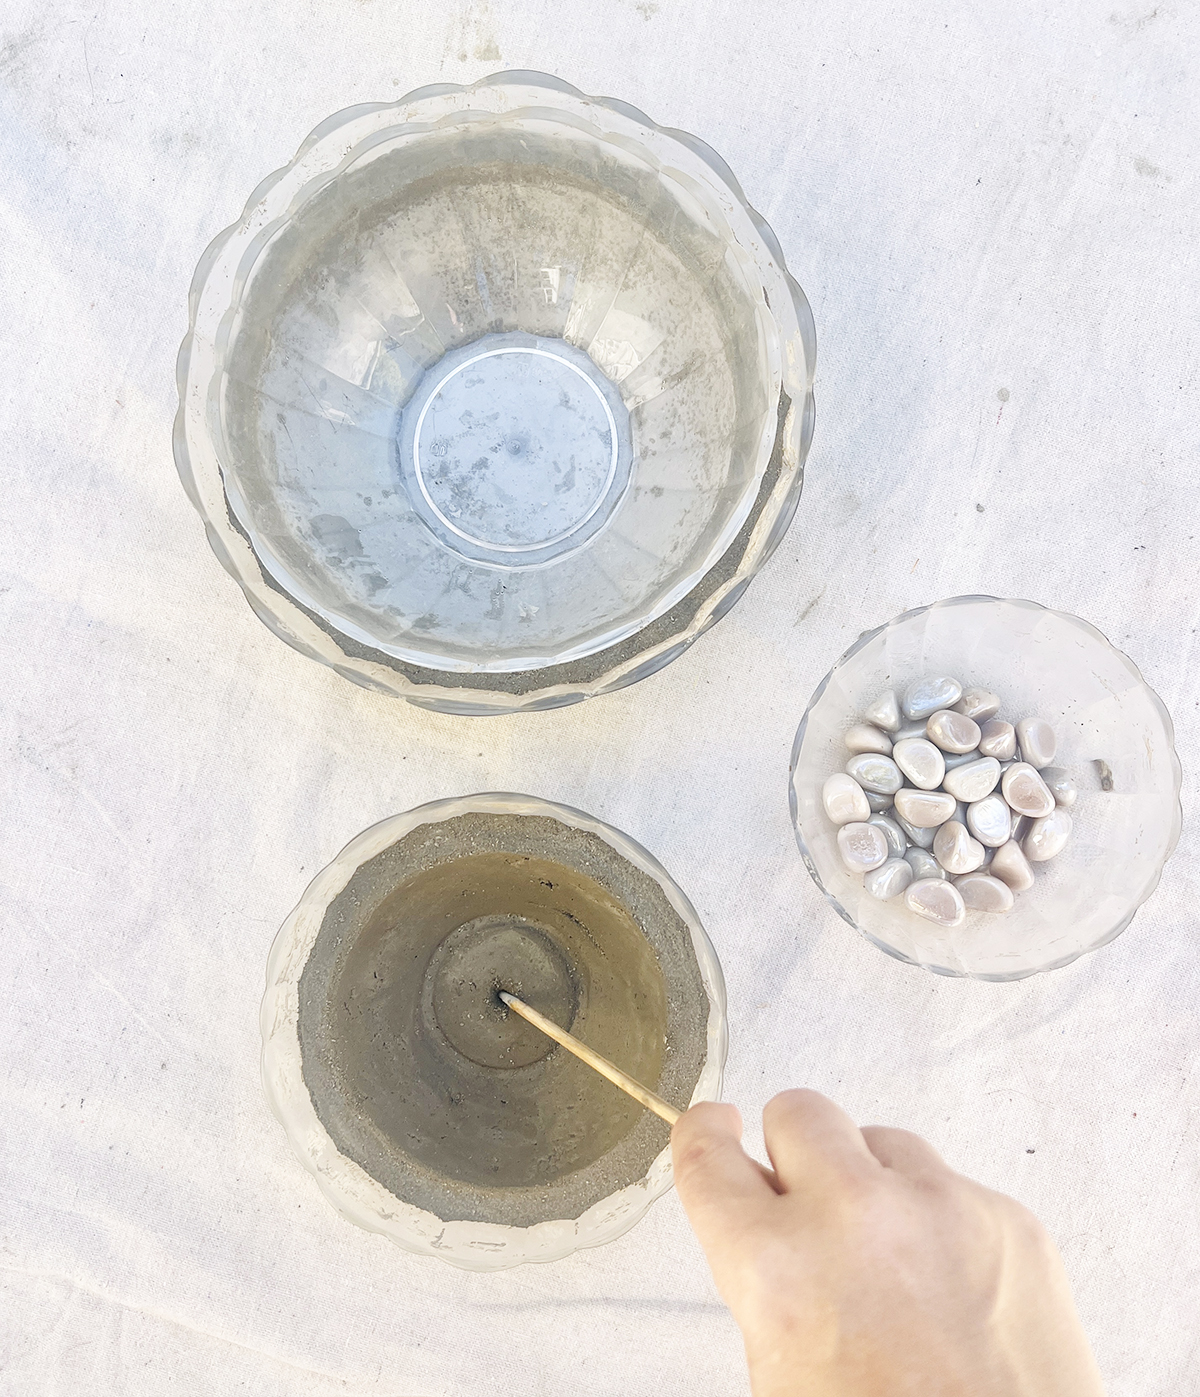
Step Three: Allow the cement planter bowl to dry another 8-10 hours so it is hardened then turn the bottom larger bowl upside down on a soft surface so that it releases from the acrylic bowl form.
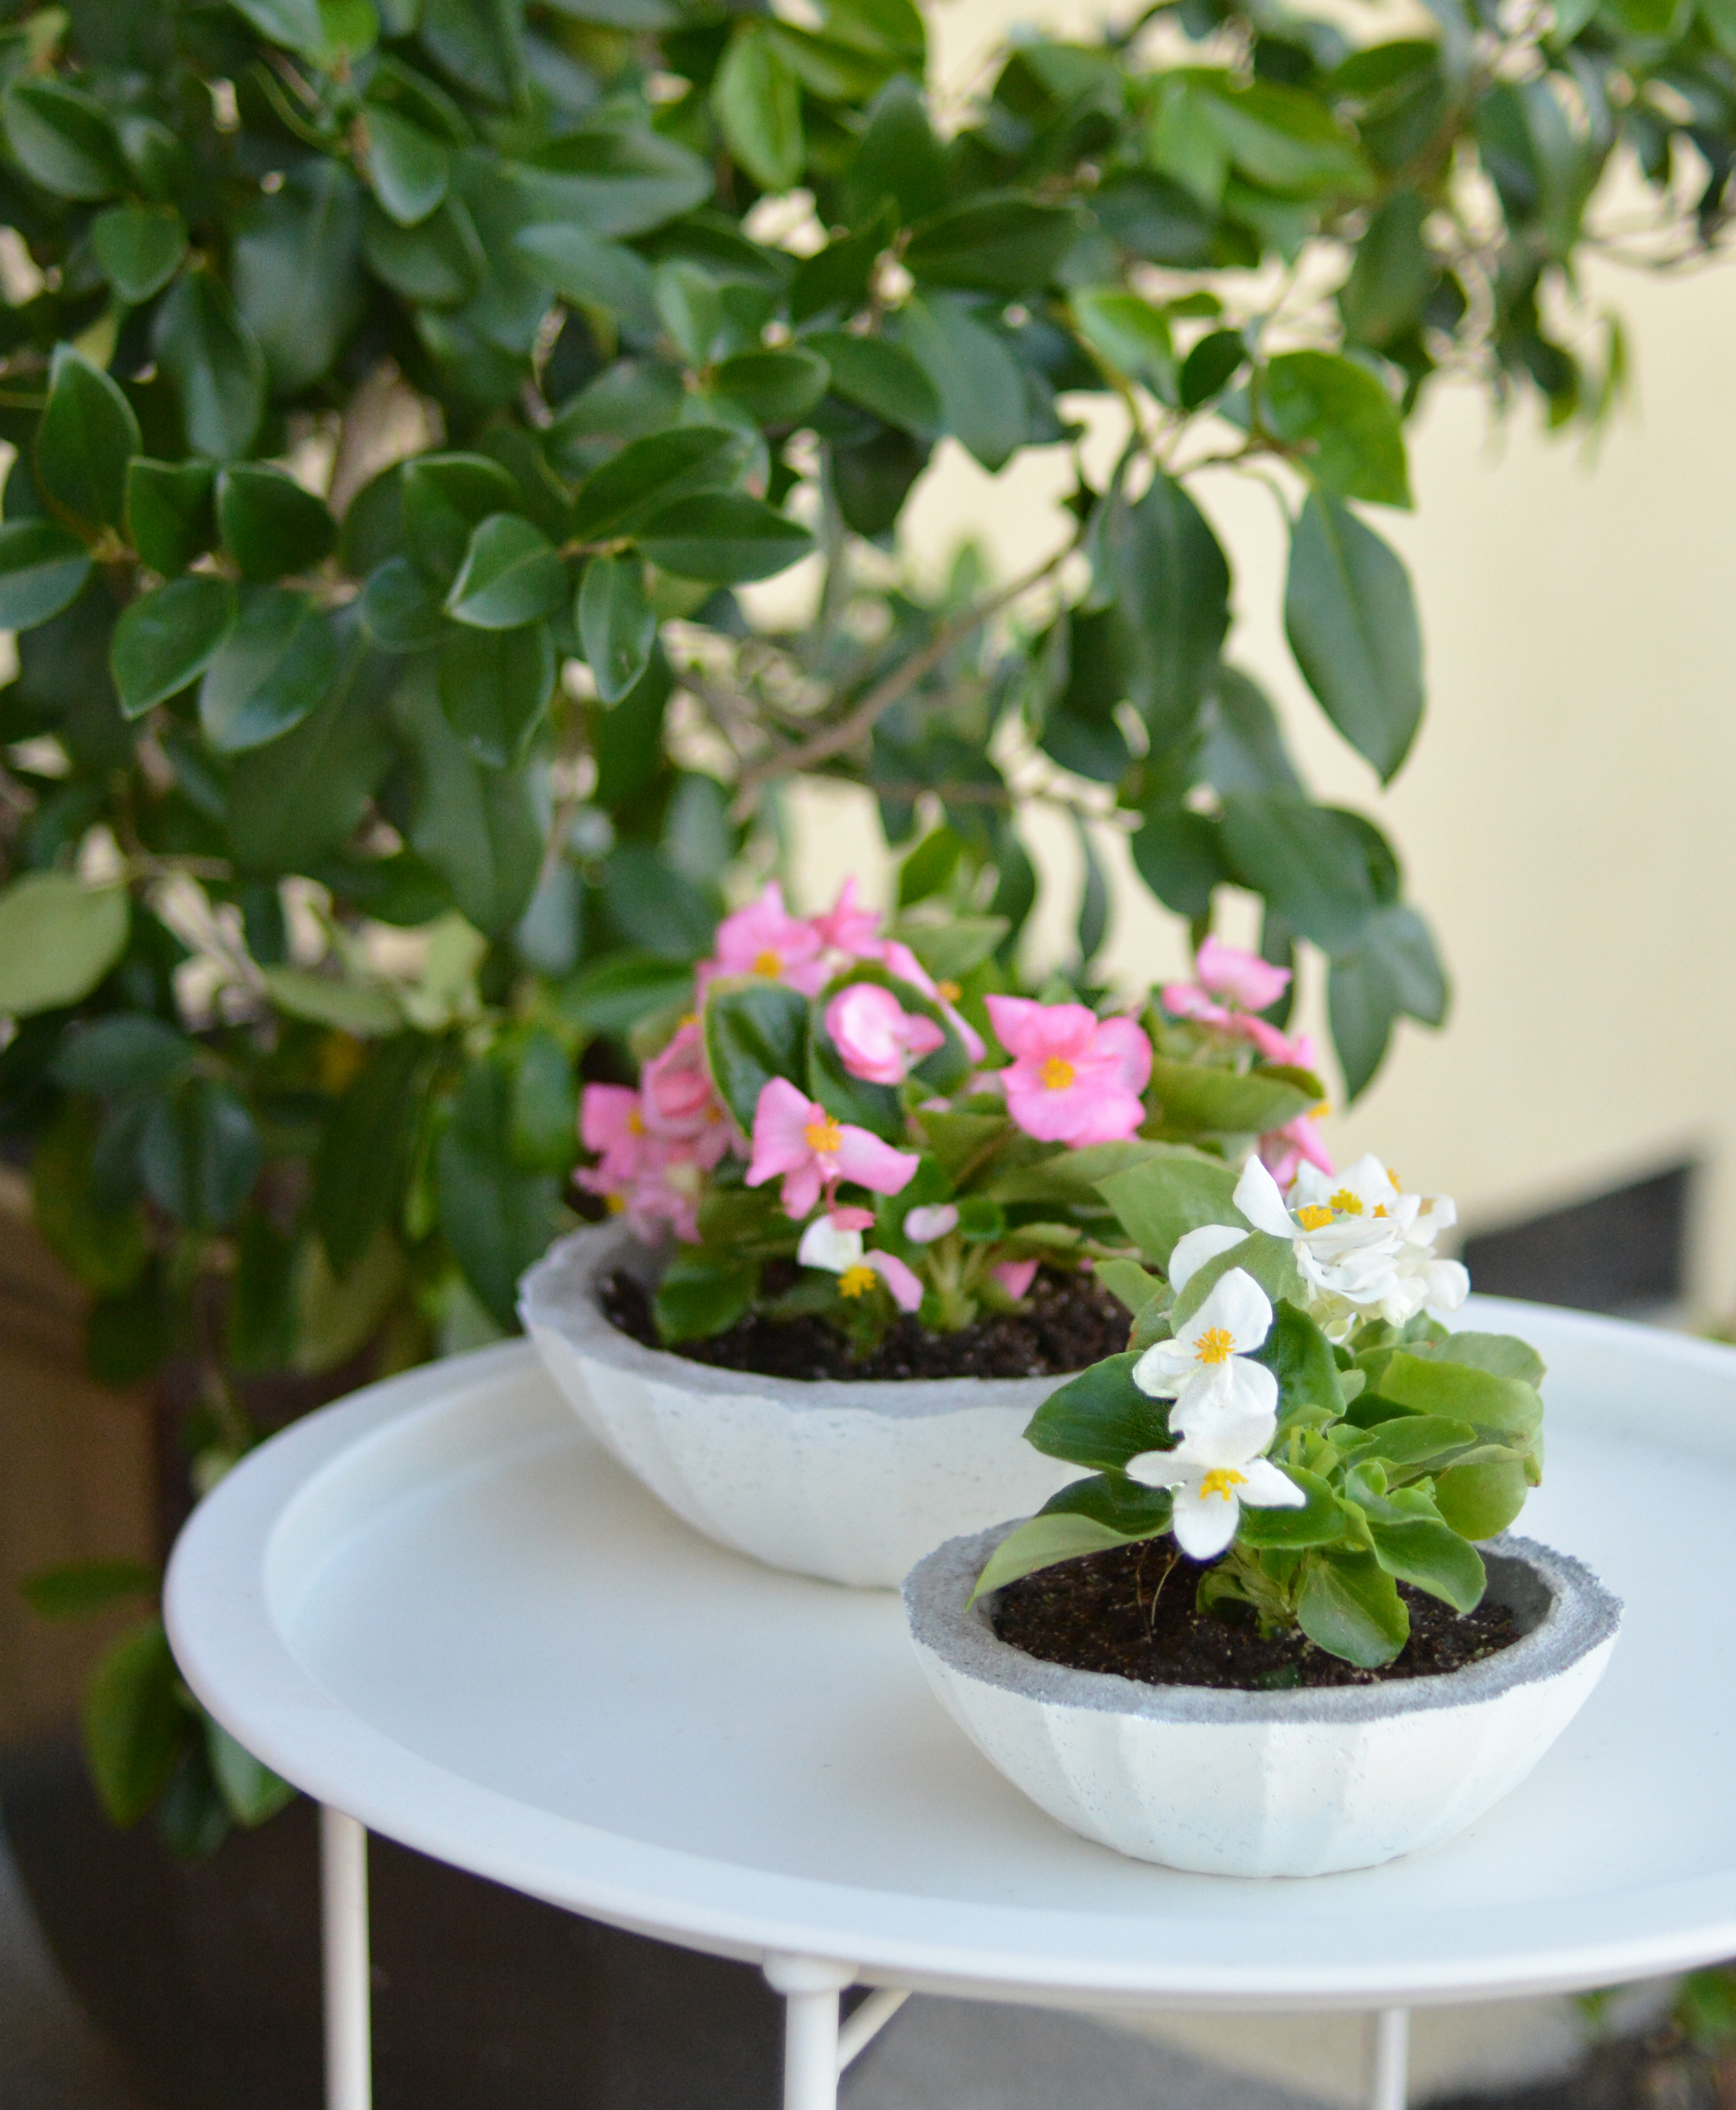
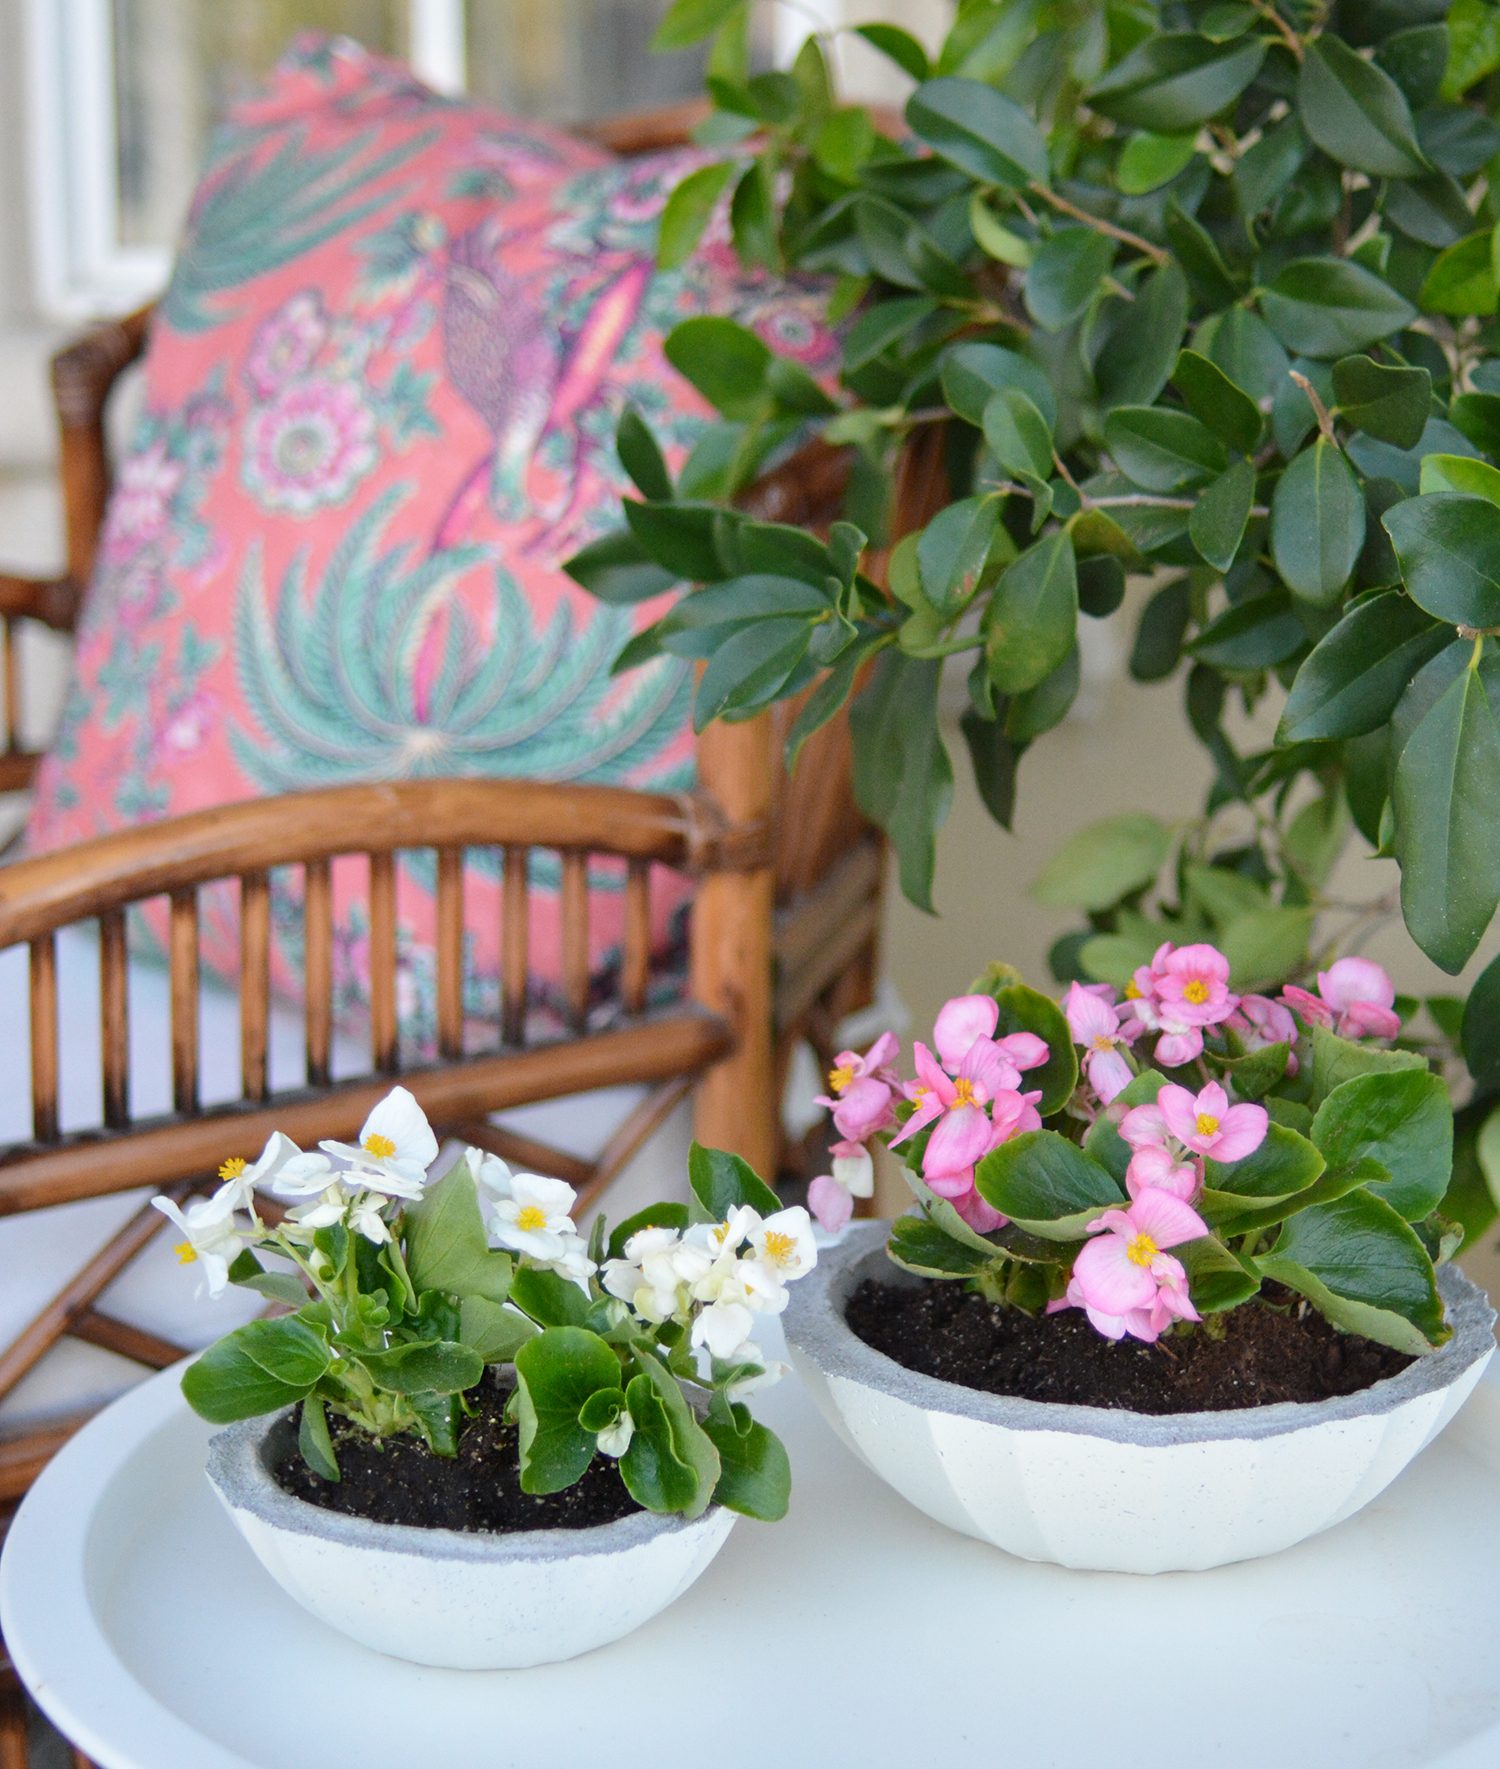
Step Four (optional): Use two light coats of spray paint to add color to the underside of the planters, in my case I chose white. Once the spray paint is dry, fill the planter bowls with annuals or succulents and display on a tabletop.
centsationalstyle.com

