
[ad_1]
Water heaters are designed so that they can be used with any wiring. However, you need to make sure that the heater is compatible with the wiring configuration at your place
It’s important for you to understand how electric water heaters work before installing one in your home. You should also know about the different types of hot water heating systems available and choose what suits your needs best.
This article will help you learn more about electric water heater installation and how to do it correctly. Let’s get started.
Tools and Equipment
Before going out to purchase a water heater, get to know which one meets all your needs. Only by buying the correct heater can you get a complete service. After purchasing, your next step is getting rid of the old heater to make room for the new one. There are several tools and equipment you’ll need to replace a water heater with the new model. These include:
- Screwdriver
- Wrench
- Pipe cutter
- Voltage testers
- Flexible hoses
- Sandpaper
- Dielectric connectors
Here Is a Step by Step Guide for Wiring a Water Heater:
Turn Off the Power
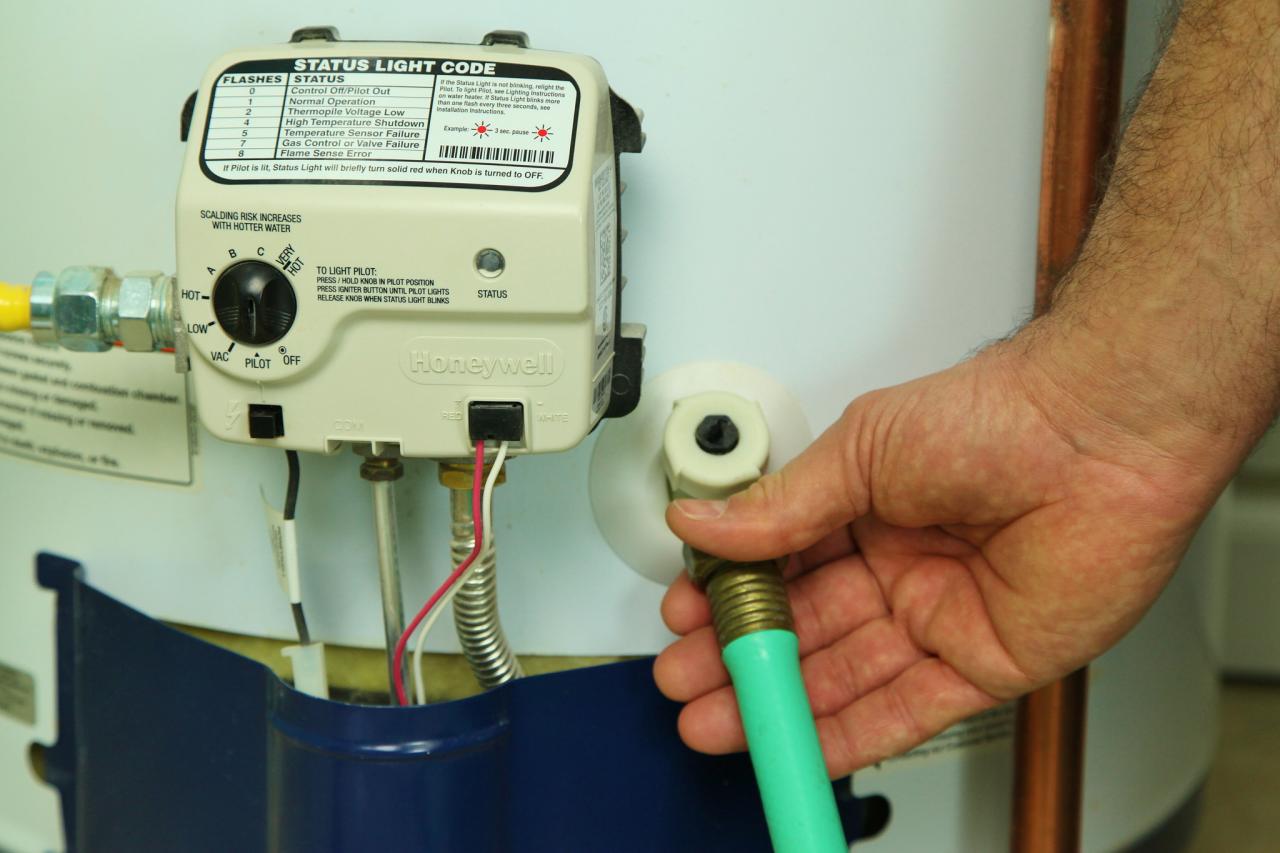
Before touching the water heater wiring or any electrical connections, turn off the power to the circuit supplying the water heater. A 240 volt circuit powers most home water heaters. While all voltages are dangerous, this particular voltage is most notorious for causing severe injury or death.

The circuit is served by a 30-amp, double pole circuit breaker in most cases. So switch off the appropriate breaker in the breaker box, then use an electrical voltage tester to ensure that the circuit is off by testing the water heater. Make sure you remove the cover plate to allow you to inspect the wire connections inside.
You can test for power after removing the cover plate by holding a non contact voltage tester next to the wire connections. The tester won’t light up if you shut off the circuit properly.
Drain all Hot Water
The next step is to drain all of the hot water out of the tank to make it easier to work inside the tank and as a safety precaution. You must learn how to drain a water heater properly before you proceed with it. The two connections that will need some attention are those that attach the upper thermostat housing and the lower thermostat of the heater used for draining.
Disconnect all the Wiring on the Old Water Heater
The next step on how to wire a water heater is removing all the electric wiring that connects to the top part of the hot water tank. This will ensure you can safely remove the old heater and check any wire that needs urgent replacement.

When removing a water heater, turning off the gas supply that feeds into the unit is necessary. If there is any fuel oil coming from the tank, turn that off as well. When removing a water heater, always make sure all-natural gas and propane line connections are turned off.
Disconnect all the Piping System
After you have disconnected all the passages that run into and out of the water heater, it will be necessary to disconnect the wiring from the tank. This can be done by removing a nut that holds a wire in place. If the nut is corroded, use a wrench to loosen it up, after which you can pull off all electric cables.

You can then carry the water heater to the attic for repainting or even merely place it there within a bin. If all are in good condition, you can save on costs and reuse them when installing the new water heater.
Install the New Hot Water Tank
After disconnecting the wires and pipes, you can safely remove the old heater. At this point, you can check to see what else requires replacing on the whole system before installing the new water heater. Since the water heater is bulky, use a wheelbarrow or other moving equipment to remove it.

After that, check the area where the tank was and clean off any dust that has accumulated. Make any general repairs, then proceed to replace with the new tank. Ensure you got the right tank by checking if the wiring and pipes fit as they did on the old tank.
If they don’t, you might have some more work to do before wiring the new water heater. You have the option of building the new water heater a platform for better installation. Use building blocks that are more efficient, affordable, and easy to install at home.
Sand the Copper Pipes
Copper is a soft metal that can easily be scratched and nicked. When you sand it, you remove any oxidation and improve the connection with your compression fitting. Ensure they are all straight and not kinked, so the water flows smoothly. You need to do this, especially if you move them or connect two different piping systems.
Wire in the New Water Heater
Connect the white wire to the silver screw on the top of your new water heater. Connect the black wire to one of your heating element terminals, usually marked as ‘HEAT’ and not ‘AC.’ Connect any additional wires to either screw and tighten them using a wrench. These extra wires can be used for a pilot light or thermostat connection.
Access the wiring on the new water heater by removing the casing on its junction box. You’ll note a green screen ground on the heater that you need to attach a ground wire on as the first step in the wiring. Access to wiring on the tank removes the junction box and removes all black and white wires.
It would help if you got wire connectors to connect the remaining wires. Accomplish this part by twisting and accessing the other cables. After that, close up the junction box cover. Remember to properly connect all the wires before closing the junction box. Failure to do so might result in the heater not working correctly.
Attach all the Pipes on the New Water Heater
Attach the power entry cable to the wire connector and tighten it firmly. This will make it easy to connect all those pipes as you can use one wrench for everything. If possible, use the same size pipe as the old heater. Twist and then install the new water heater into place and attach a T-fitting on either side of your new heater.
Make sure to leave an extra inch of pipe coming off the shut-off valves, so you can easily turn them on and off in the future. Attach a piece of copper wire to each end of the T-fitting that leads into the heater itself. Bend
Once everything else is connected, open both valves to run water through your entire it so that it can easily slide down the hot and cold line.
Install Temperature and Pressure Discharge Valve
This is the last step to complete. Water must exit your heater and enter your water piping system. Turn off both valves and cut a notch in the hot and cold pipes so that the T-fitting will fit over them snugly. Screw your discharge valve into place, taking care not to break the threads by cross-threading it. Open the valves once again to make sure pressure is not too great. If you have a pressure regulator, attach it to the discharge valve and set it to 80 psi.
Switch on the Power
Replace the junction box cover, turn the water supply back, and fill the water heater with water. Once filled with water, turn the circuit breaker back on. After turning on the electric supply on the circuit breaker, watch what happens next.
Be keen to note any smoking or sounds that can low wiring that needs immediate attending. Never turn the water heater with a tank that’s not full of water. Water must fill the tank, or you risk a dry fire situation on your hand at this crucial step.
If the water is getting hot and all seems well, then you’ve successfully installed a water heater. If not, turn off the circuit breaker and check the wiring.
Heating Element Wiring
Now that you’ve successfully installed your electric water heater, it’s time to wire the heating element. One of the most common mistakes made by first-time users is connecting the power supply wires to the wrong terminals. If this happens, don’t panic; reverse these connections, and everything will be fine. Just make sure not to turn on the power supply until you’re certain that all connections have been properly made.
To wire your heating element, connect one of the wires from the power supply line to one of the two water heater terminals and the other power supply wire to a second terminal.
Understanding Water Wiring
Electric water heaters require a 240 volt circuit, serving only the water heater and no other appliances or devices. The circuit wiring includes a 3p-amp double pole breaker and 10-2 non metallic cable or metallic cable. The black circuit wire connects to the black wire lead on the water heater, and the white wire connects to the red or white wire lead on the water heater.
The white wire should be wrapped with black or red electrical tape near the connection at both ends of the circuit to indicate that it’s a hot wire and not a neutral wire. Next, take the black wire from the feed circuit and one wire from the water heater and twist them together. Secure them with a wire connector and wrap electrical tape around the connection for additional safety.
With the white wire coming from the panel, wrap electrical tape over its insulation to identify it as a current-carrying line. Unlike standard 120-volt circuits, a 240-volt circuit carries live current in black and white wires. The circuit ground wire connects to the green ground screw on the water heater or the water heater’s ground lead.
FAQs on Understanding Electric Water Heater Wiring
Does a water heater need a ground wire?
Yes, a water heater requires ground wire for safety. The bare copper wire attaches to the green ground screw on the water heater or the metal water pipe connected to the unit.
How do you connect an electric water heater?
Connections for an electric water heater vary depending upon the model. Before installing it, read through the manufacturer’s instructions and check your local building code for any additional requirements.
Final Thought on Understanding Electric Water Heater Wiring
As you can see, learning how to wire a water heater at home is not as intimidating as it sounds. Doing it yourself can save you a lot of money in the long run. Electric water heaters are relatively inexpensive and easy to install, which means they are great options for DIY homeowners.
However, it’s not a process to be taken lightly and requires extra caution when installing. Consider safety at every step of the installation to avoid any mistakes that can be life-threatening.
The post Understanding Electric Water Heater Wiring appeared first on Kitchen Infinity.
[ad_2]
kitcheninfinity.com


