Building the Round Top of this Rustic Farmhouse End Table
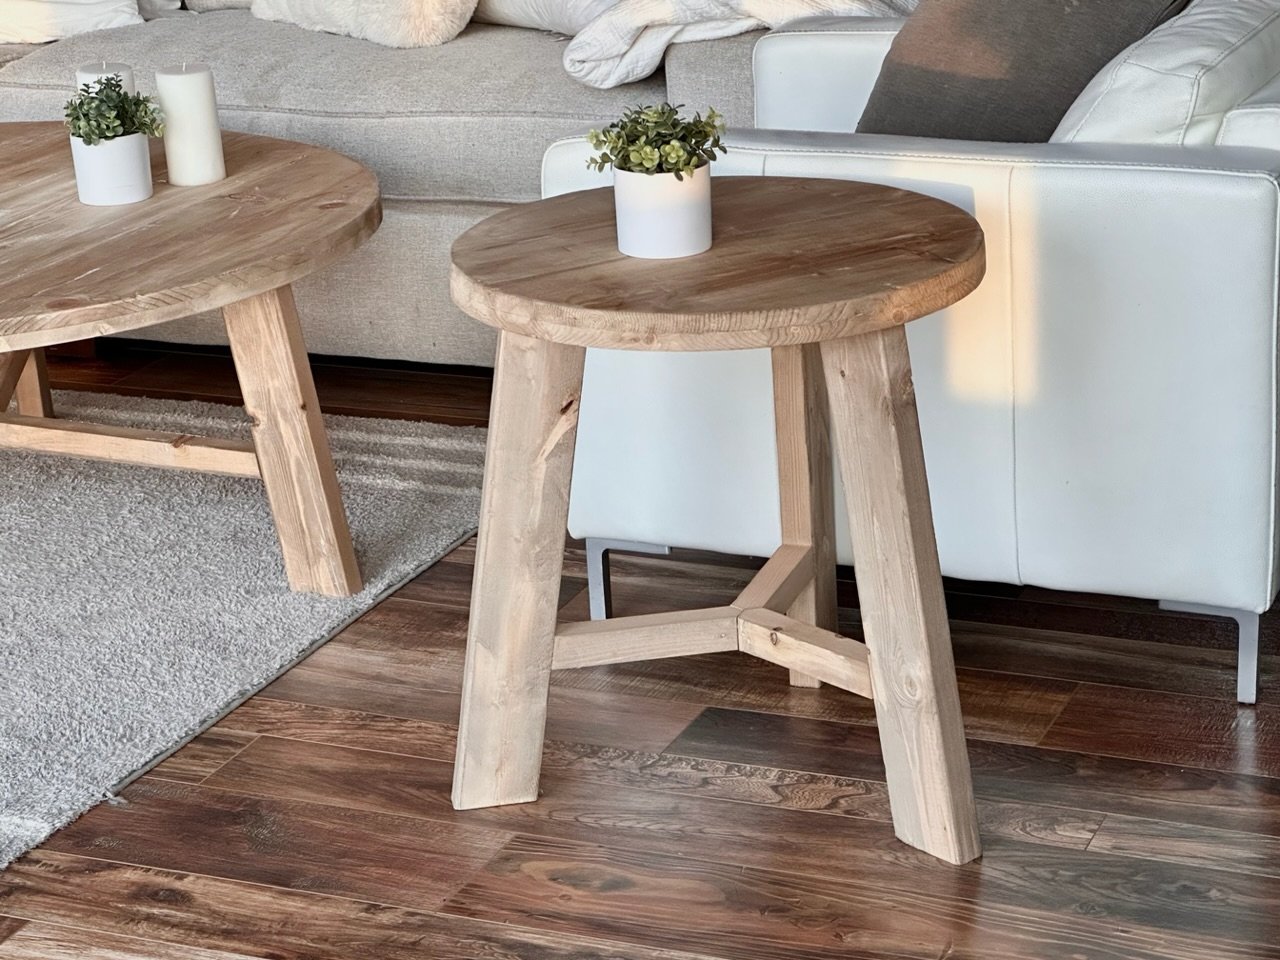
Here’s how I built the round top for this end table.
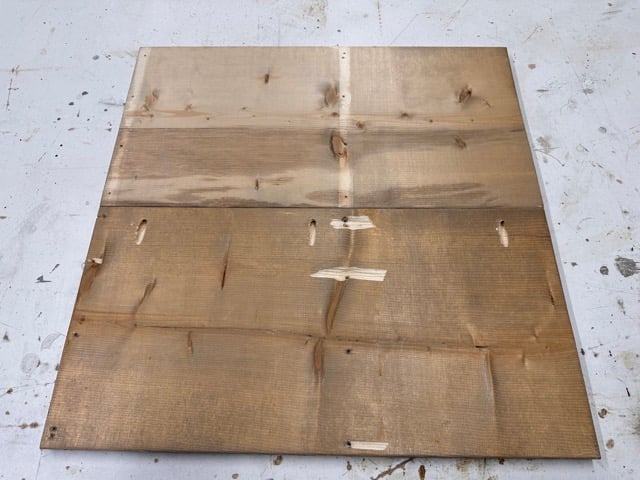
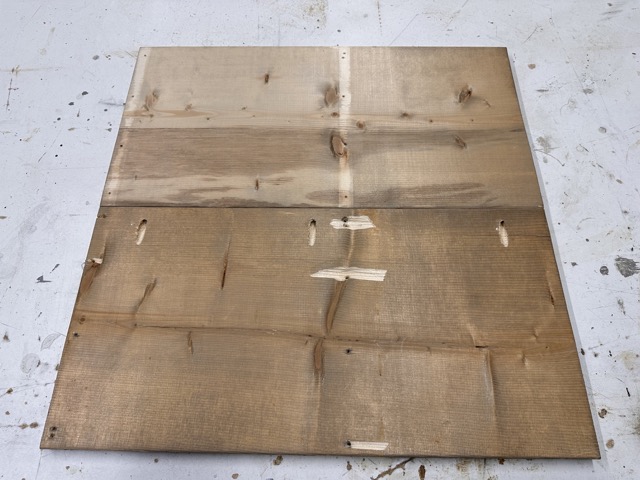
First, joint two 1×12 boards together using pocket holes to make the tabletop boards. Avoid screws where the saw will cut into when cutting the circle. NOTE: I am using reclaimed 1×12 boards.
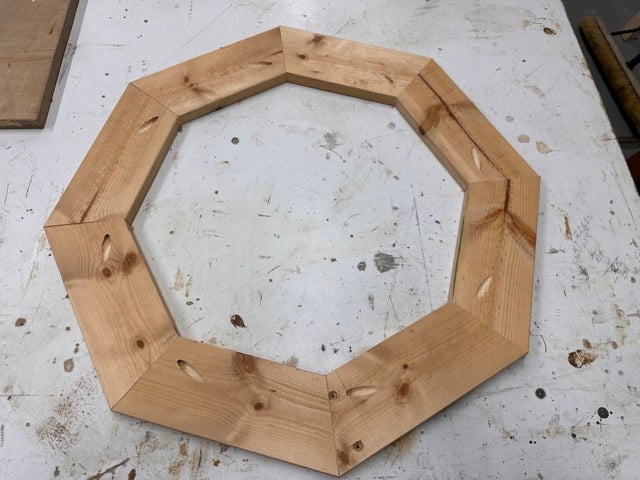
Then, build the octagon apron for under the tabletop. Avoid screws where the saw blade will cut into when cutting the circle.
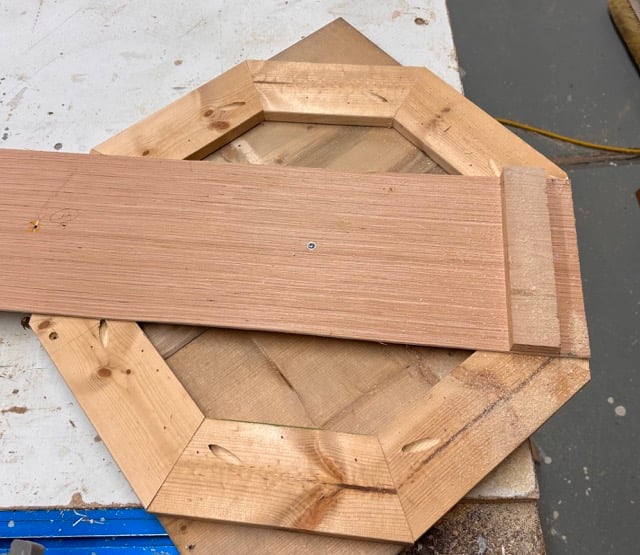
Attach the octagon apron to the underside of the 1x12s with brad nails and glue – avoid nails where the saw blade will cut into when cutting the circle.
Use the circle jig to cut the tabletop into a circle.
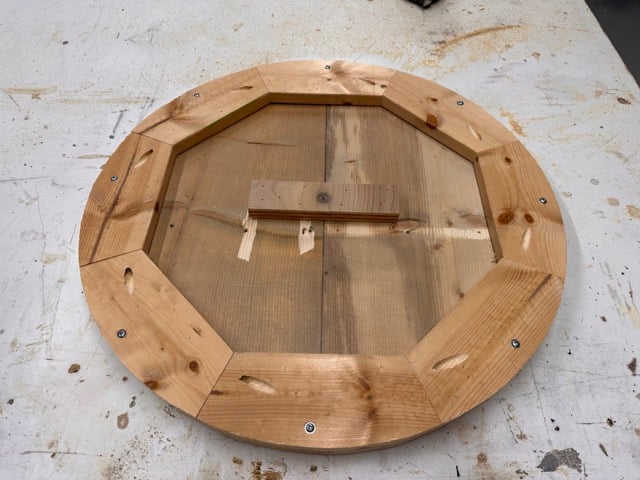
After cutting the tabletop into a circle, add more screws or nails to the underside of the apron as needed to tighten the apron to the tabletop boards.
Building the Base of this Rustic Farmhouse End Table
Once the top is done, I can now work on the base.
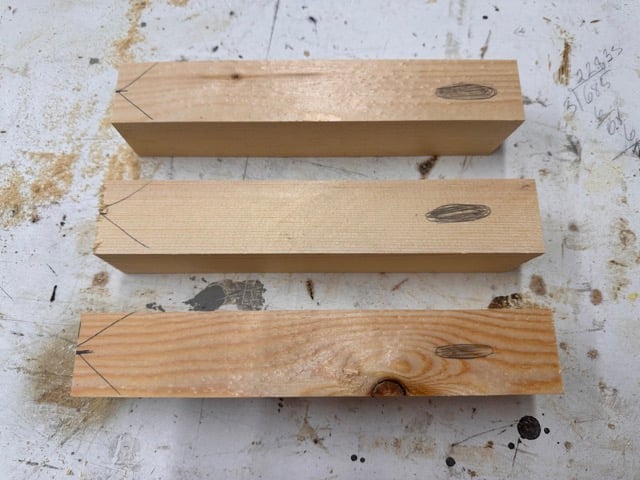
For the small triangle stretcher pieces, I mark out the pocket hole and the end angles first, then carefully prepared using a miter saw.
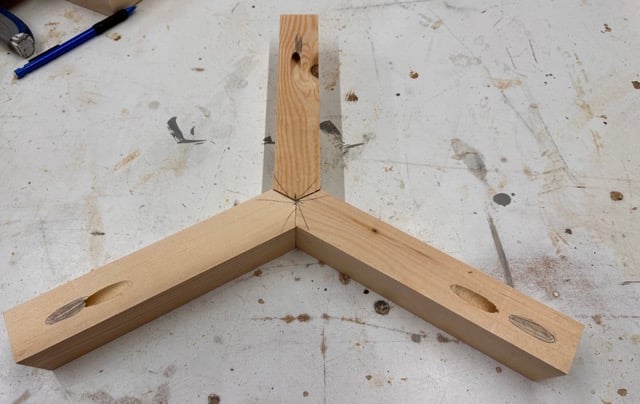
Then I joined the three boards together to make the center stretcher, using glue and 2″ trim screws.
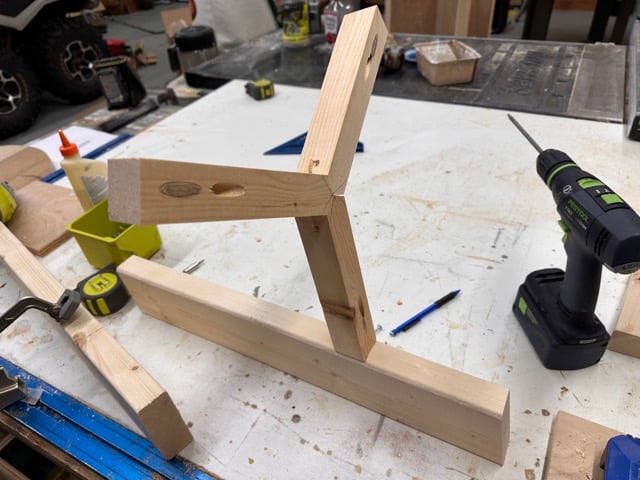
Then I attached the center stretcher to the legs with the predrilled pocket hole, using glue and 2-1/2″ pocket hole screws.
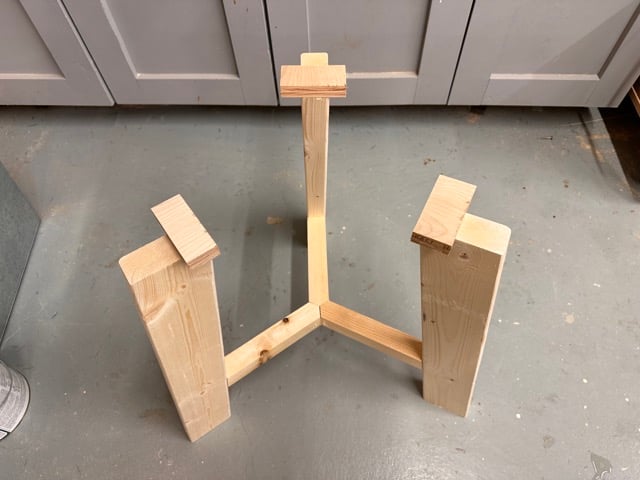
I set the base on a flat surface to the the glue dry up. I attached scrap wood pieces to the tops of the legs with 2″ trim screws and glue.
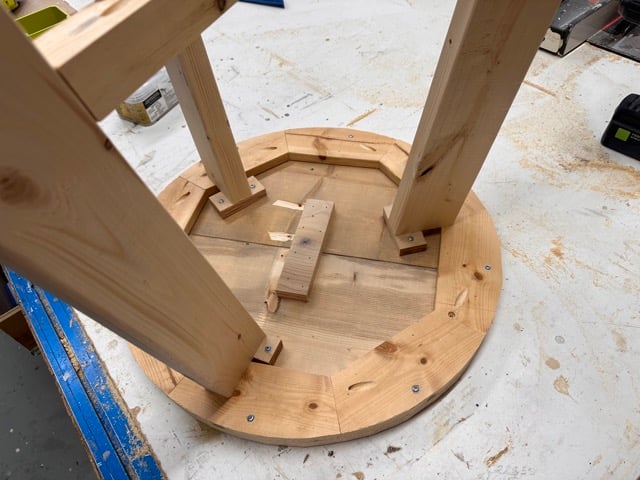
Finally, I attached the base to the underside of the tabletop using the scrap wood pieces and 1-1/4″ pocket hole screws.
Video Tutorial – How this Project is Built
Here’s a quick video tutorial, showing how this project is built. It is the coffee table, but the steps are essentially the same:
VIDEO COMING SOON
Matching Plans Also Available!
This end table is part of a collection of plans that I built to match.
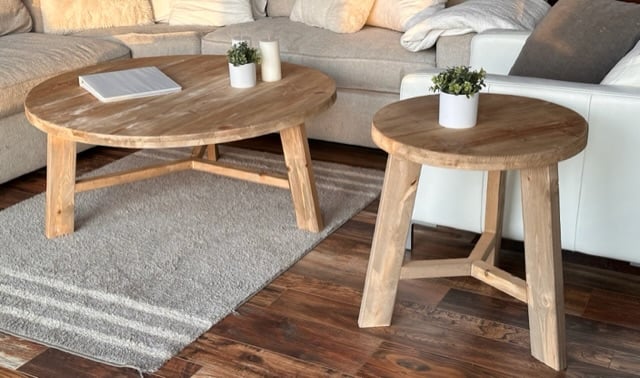
Here’s the plans I have so far:
44″ Round Rustic Farmhouse Coffee Table Plans
Free Plans to Build Your Own Rustic Farmhouse End Table
www.ana-white.com

