
[ad_1]
A bathroom faucet handle issue can be frustrating, especially when you’re in a hurry and don’t have time for a professional repair. But did you know that learning how to fix bathroom faucet handle problems can be done by yourself in just minutes? In this blog post, we’ll guide you through the process of identifying the issue, gathering necessary tools, shutting off the water supply, repairing the faucet handle, and reassembling and testing the faucet. Say goodbye to those annoying faucet handle problems and hello to a fully functioning bathroom faucet!
Key Takeaways
- Identify the problem with your bathroom faucet handle, gather necessary tools and materials, select the right screwdriver and find replacement parts.
- Shut off water supply before commencing repair by locating shutoff valves and draining remaining water from pipes.
- Repair spinning handles by replacing faulty valve or cartridge. Leaking handles by replacing washers/O rings/valve seats. Loose handles by tightening set screws or replacing worn out parts. Reassemble & test for proper functionality & restore water supply after repairs are complete.
How to Fix a Leaky Faucet
If you’re wondering how to fix a leaky faucet, you’re in the right place. A leaky faucet can be not only annoying but also wasteful, driving up your water bill. Fortunately, with some basic tools and a little know-how, you can tackle this common household issue. In this guide, we’ll walk you through the step-by-step process of repairing a leaky faucet, from identifying the type of faucet you have to executing the necessary repairs. By the end, you’ll have the knowledge and confidence to stop that pesky drip once and for all. Let’s get started!
Identifying the Problem with Your Bathroom Faucet Handle

Understanding the issue with your bathroom faucet handle is the first step before the repair process. There are three common problems: spinning handles, leaking handles, and loose handles. Each problem has different causes and solutions, so let’s take a closer look at each one to determine what’s going on with your faucet handle.
Worn out washers or loose screws typically cause spinning handles. For fixing,
Spinning Handles
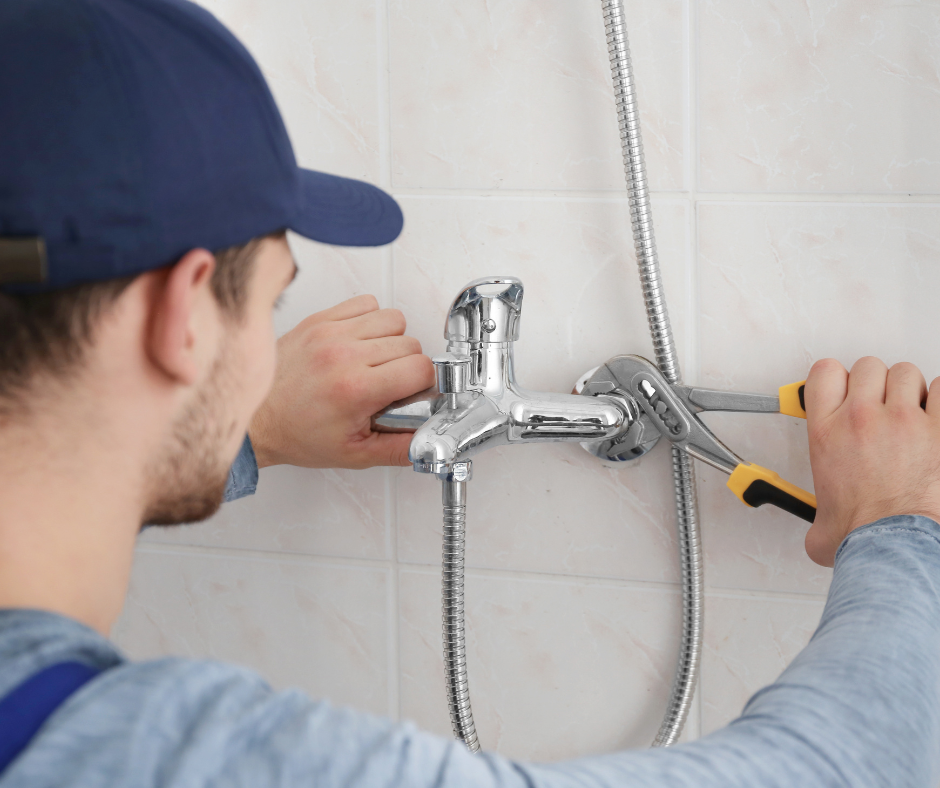
A spinning faucet handle can be annoying and make it difficult to control the water flow in your bathroom faucet. This issue might be caused by a stripped valve or a damaged cartridge that needs replacement. To determine which part is causing the problem, you’ll need to disassemble the faucet handle and inspect the valve and cartridge for signs of damage. Keep in mind that you may need a pipe wrench to loosen the locking nut and access the cartridge.
After pinpointing the issue, the next step is to substitute the defective component. If it’s the valve, simply replace it with a new one. If it’s the cartridge, make sure to bring the old one to the hardware store to find the correct replacement, as not all replacement cartridges are the same.
Having replaced the defective component, the problem with the spinning handle should be resolved, resulting in a smooth water flow.
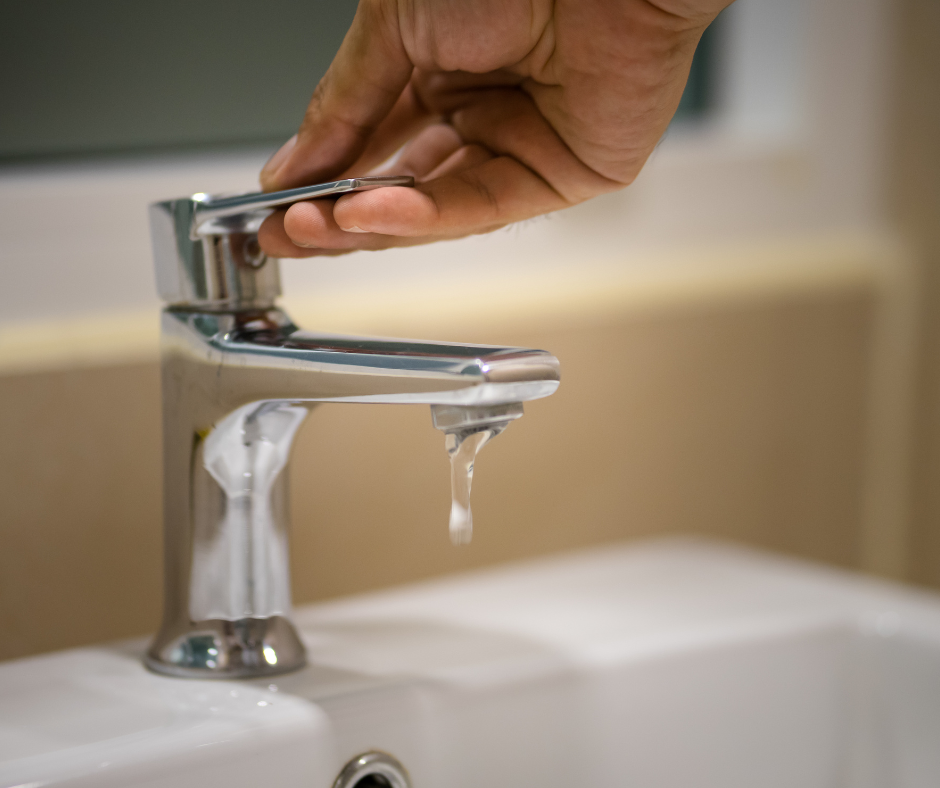
Leaking Handles
A leaking handle is not only bothersome but can also lead to water waste and potential damage to your bathroom. The main causes of leaking handles are damaged washers, malfunctioning O-rings, or deteriorated valve seats. To identify the problem, you’ll need to disassemble the handle and closely inspect these components for signs of wear or damage.
After identifying the defective faucet cartridge, proceed with its replacement. Make sure to bring the old part to the hardware store to find the correct replacement. If you’re dealing with a two-handle faucet, you’ll only need to replace the cartridge on the side that’s leaking, which can be determined by feeling the temperature of the water.
Subsequent to the component replacement, put the handle back together and check the faucet to confirm that the leak is fixed.
Loose Handles
Loose handles can make it difficult to control the water flow and temperature in your bathroom faucet. The main cause of this issue is an improperly tightened set screw or worn-out parts that need replacement. To determine which one is causing the problem, you’ll need to disassemble the handle and carefully inspect the set screw and other components for signs of wear or looseness.
If the set screw is loose, simply tighten it using an appropriate screwdriver or Allen wrench. If you find that a part is worn out, replace it with a new one and reassemble the handle.
After ensuring the handle is tightly fastened and all worn-out components are replaced, check the faucet to confirm that the problem with the loose handle is solved and the faucet is working as expected.
Gathering Necessary Tools and Materials
Collecting all the necessary tools and materials is a vital step to take before embarking on the repair process. This includes the appropriate screwdriver for the type of screw used in your faucet handle, such as a flathead or Phillips, as well as any replacement parts needed for your specific issue.
Having the right tools and materials on hand will make the repair process smoother and ensure that you can fix your bathroom faucet handle quickly and effectively.
Selecting the Right Screwdriver
A successful repair hinges on selecting the right screwdriver. The type of screwdriver you’ll need depends on the type of screw used in your faucet handle, which can vary between flathead and Phillips. To determine the appropriate screwdriver, consult the manufacturer’s instructions or seek professional advice if you’re unsure.
Armed with the right screwdriver and a brass screw, you’ll be able to disassemble and reassemble your faucet handle with ease.
Finding Replacement Parts
Finding the right replacement parts for your faucet handle is of utmost importance. The best way to do this is by bringing the damaged parts to a hardware store, where a knowledgeable staff member can help you find the right replacements.
This will save you time and frustration in the long run, as using the wrong parts can lead to further issues or damage.
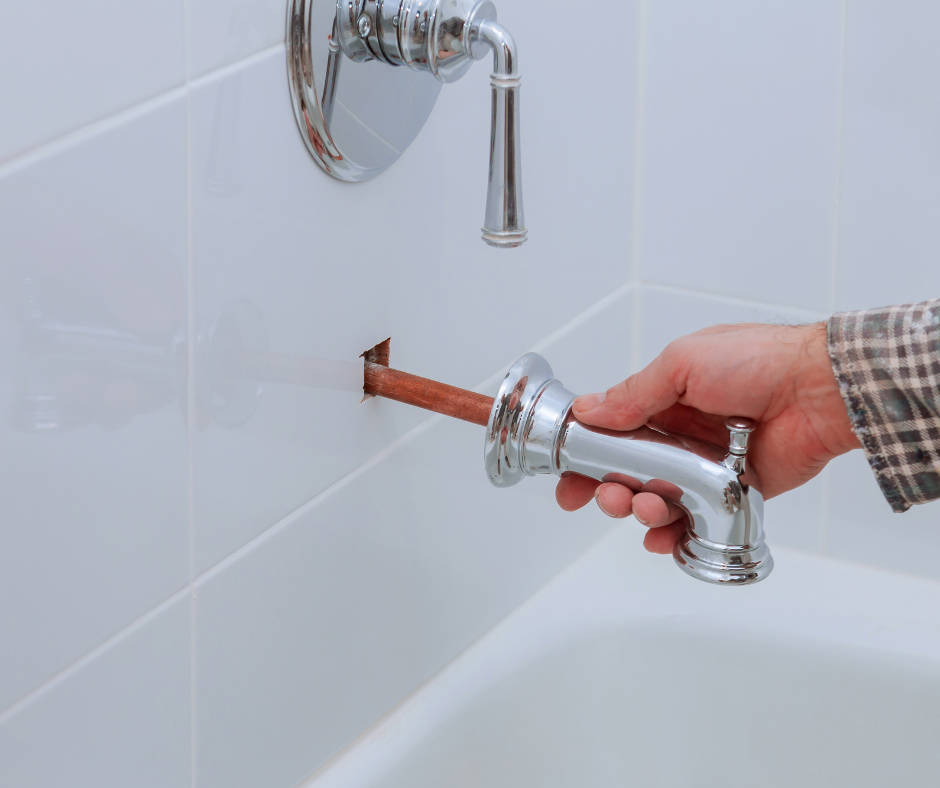
Shutting Off the Water Supply
Prior to initiating the faucet repair of your bathroom faucet handle, you must turn off the water supply to avert any mishaps or damage. This involves locating the shutoff valves, which are typically found under the sink or near the main water supply, and turning them clockwise to close.
Once the water supply is shut off, you’ll need to drain any remaining water from the pipes by opening the faucet and letting the water run until it stops.
Locating Shutoff Valves
To shut off the water supply to your faucet, you’ll first need to locate the shutoff valves. These valves can be found under the sink or near the main water supply.
Once you’ve found the valves, turn them clockwise to close them and cut off the water supply to the faucet. This will ensure that you can safely work on your faucet handle without any risk of water damage or injury.
Draining Remaining Water
Following the water supply shut off, ensure to drain any remaining water from the water supply lines as a pre-repair step. To do this, simply open the faucet and let the water run until it stops flowing.
Draining the remaining water from a dripping faucet will not only make the repair process easier but also help prevent any potential water damage or accidents while you work on your faucet handle.
Repairing the Bathroom Faucet Handle
Having identified the problem, assembled the required tools and materials, and turned off the water supply, you’re ready to repair your bathroom faucet handle. Depending on the problem you’re facing, you’ll need to fix spinning handles, leaking handles, or loose handles.
Let’s dive into the specific steps required for each issue to get your faucet handle functioning properly again.
Faucet is Leaking from the Handle
If you’ve noticed that your faucet is leaking from the handle, it’s essential to address the issue promptly to prevent further water wastage and potential damage. A leaking faucet not only leads to increased water bills but can also result in water stains and damage to the surrounding fixtures. Identifying the source of the leak and taking appropriate action can help you save both water and money. In this guide, we’ll explore common reasons for this issue and provide practical solutions to help you put a stop to that troublesome handle leak.
Fixing Spinning Handles
If you’re dealing with a spinning handle, you’ll need to replace the stripped valve or damaged cartridge that’s causing the issue. Here’s how to do it:
- Start by disassembling the faucet handle.
- Inspect the valve and cartridge for signs of damage.
- If you find that one of these parts is causing the spinning handle, proceed to replace it with a new one.
After replacing the faulty part, reassemble the faucet handle and test the faucet to ensure that the spinning handle issue has been resolved. If the handle no longer spins and the water flow is smooth, you’ve successfully fixed the problem and can enjoy a fully functioning bathroom faucet.
Fixing Leaking Handles
To fix a leaky handle, you’ll need to:
- Replace any damaged washers, malfunctioning O-rings, or deteriorated valve seats that are causing the leak.
- Start by disassembling the handle and inspecting these components for signs of wear or damage.
- If you find that one of these parts is causing the leaking handle, proceed to replace it with a new one.
After replacing the damaged part, reassemble the handle and test the faucet to ensure that the leaking issue has been resolved. If the handle no longer leaks and the water flow is smooth, you’ve successfully fixed the problem and can enjoy a leak-free bathroom faucet.
Fixing Loose Handles
Fixing a loose handle involves the following steps:
- Disassemble the handle and inspect the set screw and other components for signs of wear or looseness.
- If the set screw is loose, tighten it using an appropriate screwdriver or Allen wrench.
- If you find that a part is worn out, replace it with a new one.
After tightening the set screw or replacing any worn-out parts, reassemble the handle and test the faucet to ensure that the loose handle issue has been resolved. If the handle is securely fastened and the water flow is smooth, you’ve successfully fixed the problem and can enjoy a stable bathroom faucet.
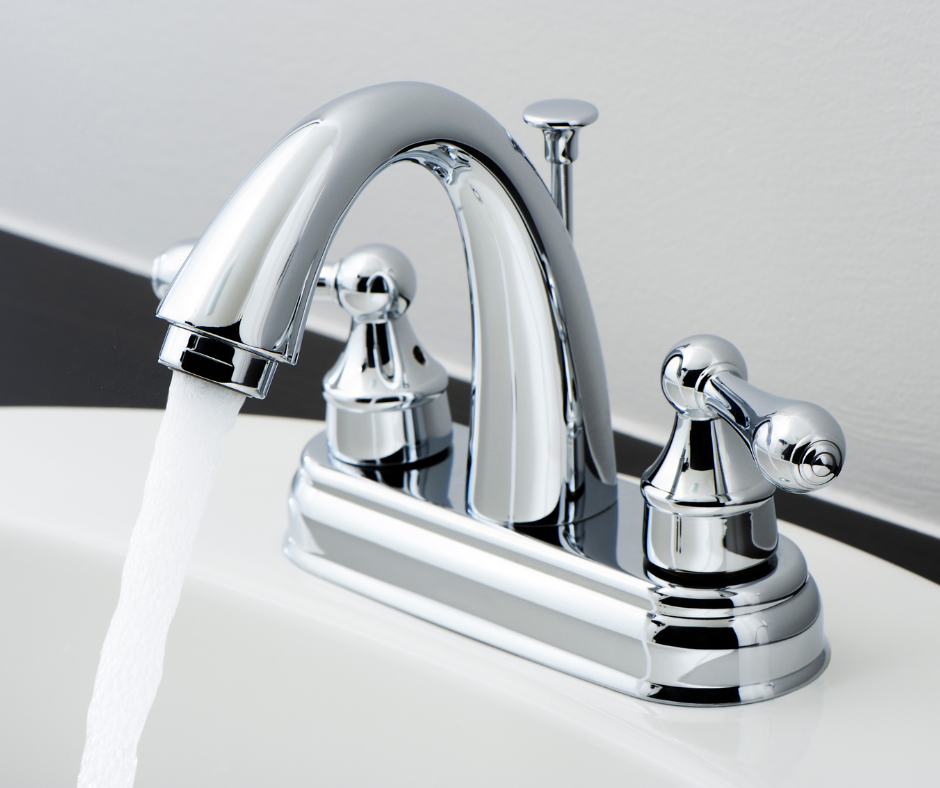
Reassembling and Testing the Faucet
Having dealt with the specific issue concerning your bathroom faucet handle, you can now put the faucet back together and check its functionality. This involves reattaching the handle, aligning it with the faucet stem, and securing it with the set screw or decorative cap.
Once the faucet is put back together, restore the water supply and check the faucet’s operation to confirm it’s leak-free and working correctly.
Reattaching the Handle
To reattach the handle, follow these steps:
- Align the handle with the faucet stem.
- Secure the handle with the set screw or decorative cap.
- Use a flathead screwdriver or Allen wrench to tighten the set screw, ensuring that the handle is firmly attached to the faucet stem.
This will ensure that your faucet handle is stable and secure, allowing for smooth operation with a well-constructed faucet body and a properly installed faucet spout.
Restoring Water Supply
After reattaching the handle, it’s time to restore the water supply by turning the shutoff valves counterclockwise.
Once the water supply has been restored, test the faucet for proper operation and check for any remaining leaks, including a potential leaky faucet.
If the faucet operates smoothly and without leaks, you’ve successfully repaired your bathroom faucet handle and can enjoy a fully functioning faucet.
How to Fix a Kitchen Faucet Leak
If you’re dealing with a persistent drip or a steady stream of water from your kitchen faucet, learning how to fix a kitchen faucet leak is essential to prevent water wastage and potential damage to your sink and cabinet. Fortunately, addressing this common issue can often be a straightforward DIY task. Before you call a plumber, follow these steps to identify and repair the source of the leak, saving you both time and money. Whether it’s a loose connection, a worn-out washer, or a damaged cartridge, we’ll guide you through the process, ensuring your faucet is leak-free in no time.
Summary
In conclusion, fixing a bathroom faucet handle is a straightforward process that can save you time and money on professional repairs. By identifying the issue, gathering the necessary tools and materials, shutting off the water supply, repairing the handle, and reassembling and testing the faucet, you can quickly and effectively resolve common bathroom faucet handle problems. With just a little effort and know-how, you can enjoy a fully functioning bathroom faucet without the hassle of calling a professional.
Frequently Asked Questions
How do you fix a broken faucet handle?
To fix a broken faucet handle, replace the defective part and then reinstall it, tightening up the set screw. Your faucet should now be working again.
How do you fix a spinning faucet handle?
To fix a spinning faucet handle, turn off the water supply, remove the faucet handles and cover plate, remove the locking nut, and replace the faucet cartridge with a new one.
Why has my faucet handle stopped working?
It appears your faucet handle has stopped working due to general wear and tear on the faucet cartridge. The spinning of the handle is caused by this wear and tear, and the cartridge can be replaced by removing the faucet from the sink and inserting a new one.
How do I determine the appropriate screwdriver for my faucet handle?
Consult the manufacturer’s instructions or seek professional advice to determine the correct screwdriver for your faucet handle.
How do I find the right replacement parts for my faucet handle?
Visit your local hardware store and take your old parts with you to find the right replacements for your faucet handle.
The post How to Fix Bathroom Faucet Handle in Minutes appeared first on Kitchen Infinity.
[ad_2]
kitcheninfinity.com


