
[ad_1]
How to Fix a Kitchen Faucet Leak Easily in 2023
A leaky faucet may seem like a minor annoyance, but did you know that it can lead to significant water waste and costly damage to your home? Fixing a kitchen faucet leak is a crucial step in maintaining the longevity of your plumbing system and preventing costly repairs down the line. In this blog post, we’ll walk you through a comprehensive guide on how to fix a kitchen faucet leak, so you can confidently tackle this common household problem and save both water and money in 2023.
Key Takeaways
- Identify the type of kitchen faucet and gather essential tools and materials.
- Locate the leak source, then repair rotary ball, cartridge-style or ceramic disc faucets accordingly.
- Clean & maintain components regularly to prevent future leaks. Call a professional plumber for extensive issues.
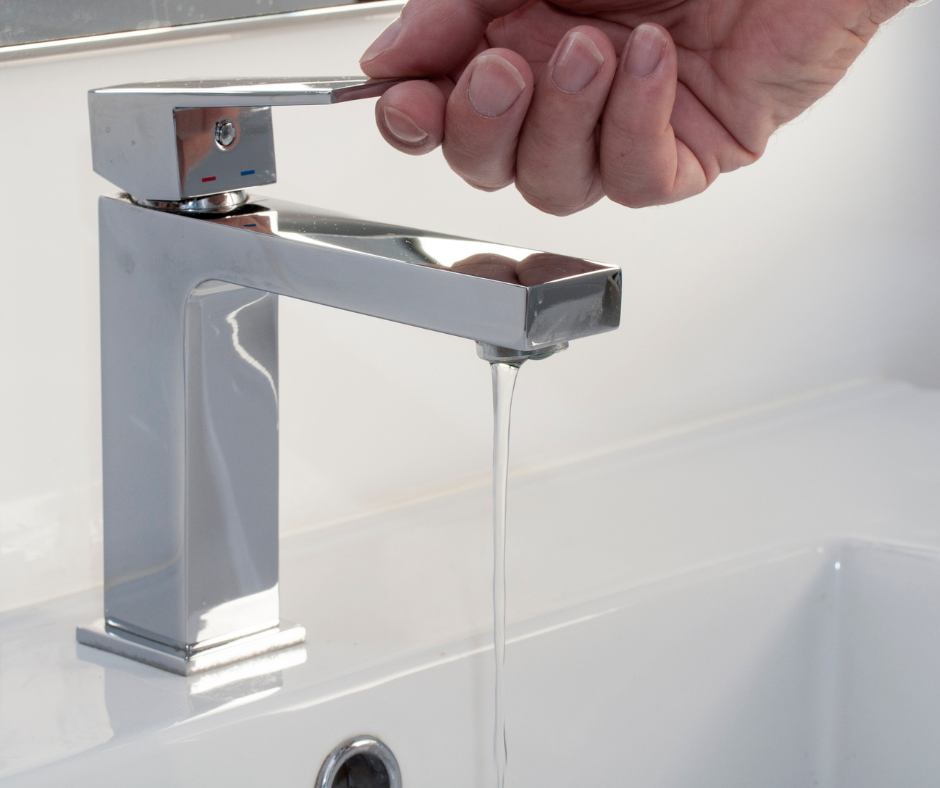
How to Fix a Leaky Faucet
If you’re dealing with a pesky, persistent leaky faucet, knowing “How to Fix a Leaky Faucet” can save you both money and frustration. Fixing a leaky faucet is a common household repair that doesn’t require advanced plumbing skills. Usually, the issue is caused by a worn-out washer or O-ring, which can be easily replaced. In this guide, we’ll walk you through the basic steps to troubleshoot and repair your leaky faucet, helping you regain control over your water bill and enjoy a peaceful night’s sleep without the constant drip, drip, drip.
Identifying the Type of Kitchen Faucet

The initial action in rectifying a dripping faucet involves determining your faucet type. There are three primary types of single lever faucets you may encounter in your kitchen: rotary ball, cartridge-style, and ceramic disc faucets.
Rotary ball faucets, or ball faucets, are characterized by a single handle mounted atop a rounded cap on the spout. Cartridge-style faucets, on the other hand, feature two handles for hot and cold water, each equipped with a faucet cartridge valve. Ceramic disc faucets are a modern alternative to cartridge faucets, operated by a single lever that controls the water flow through ceramic discs inside the cartridge. Among these types, the ceramic disk faucet stands out for its durability and efficiency, thanks in part to its valve body design.
To identify your faucet type, examine the handle and spout design. Here are some key indicators:
- Single handle on a rounded cap: rotary ball faucet
- Two separate handles for hot and cold water: cartridge-style faucet
- Single lever controlling water flow: ceramic disc faucet
Essential Tools and Materials
Before embarking on the repair journey, amassing all required tools and materials becomes paramount for a seamless and victorious project. For most faucet repairs, you’ll need:
- an adjustable wrench
- a crescent wrench
- a flathead screwdriver
- slip-joint pliers with duct tape-covered jaws (for removing a leaky cartridge faucet)
When it comes to replacement parts, you have a choice between purchasing individual seals and washers or opting for a faucet repair kit from your local hardware store. For ceramic disc faucets, you may need to acquire a replacement disc cartridge if the existing one is damaged.
White vinegar can be used to remove mineral deposits from faucet parts. A soft scouring pad is also helpful in making the task easier and faster. With all your tools and materials at hand, you’re now ready to tackle that pesky faucet leak.
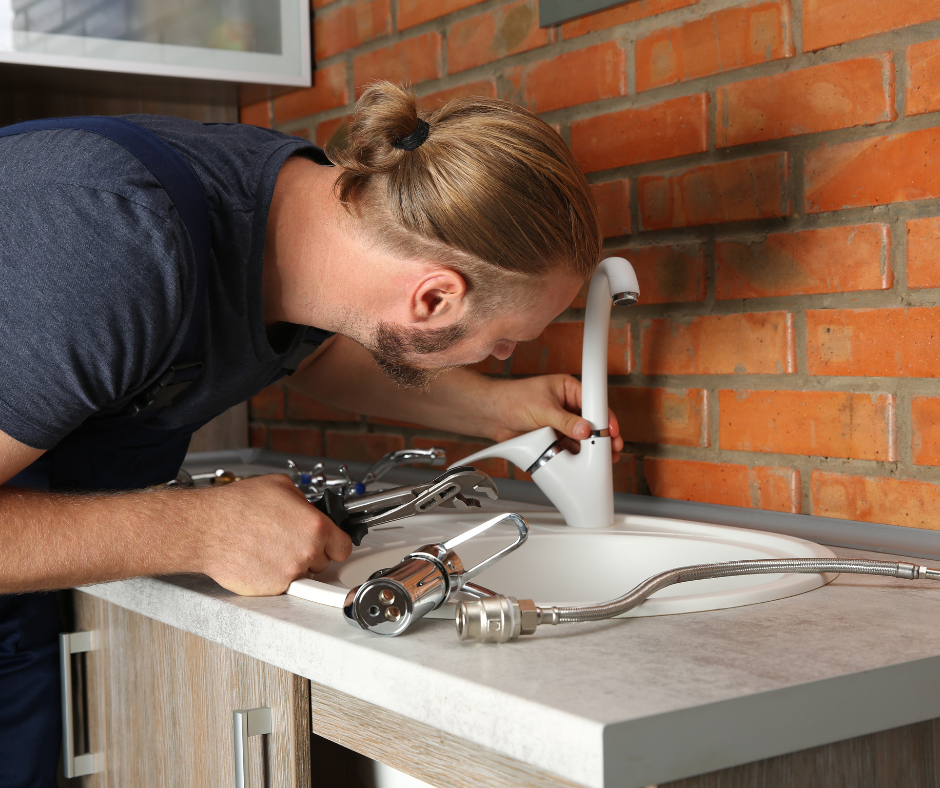
Locating the Leak Source

Prior to initiating any repairs, it is imperative to disconnect the water supply to the problematic faucet, either by turning off the hot and cold fixture shutoff valves or closing the main water supply if the individual valves are stuck. To prevent small parts from falling into the drain during the repair process, place strainer baskets or rags over the sink drain holes.
To locate the source of the faucet leak, follow these steps:
- Inspect the faucet handle to see if it is loose or damaged.
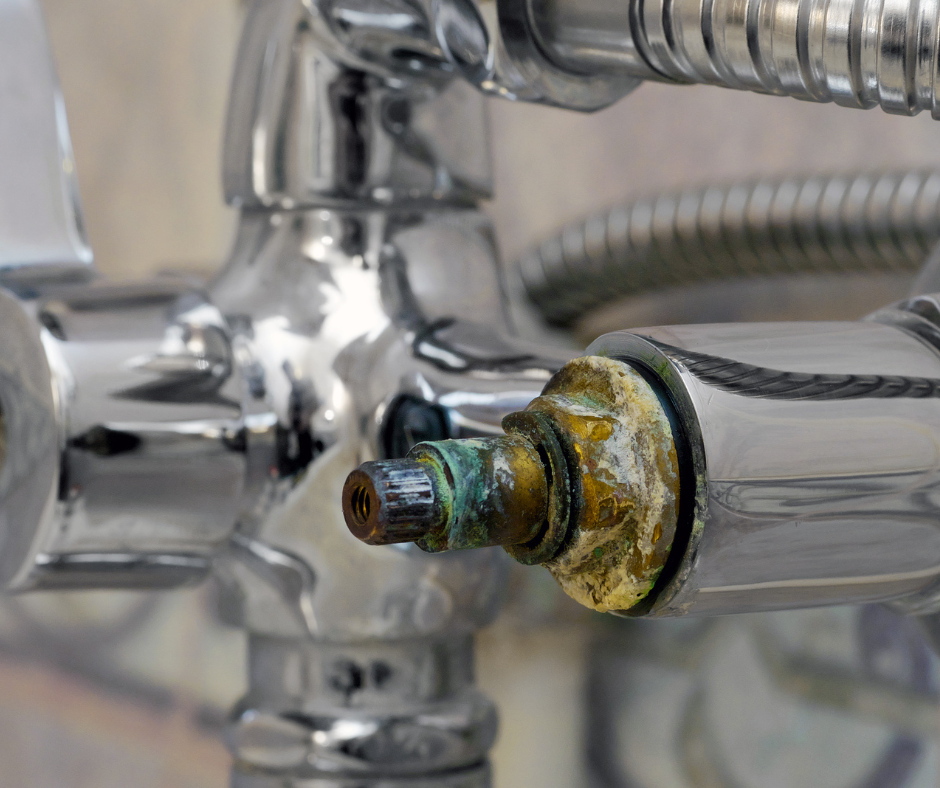
- Check the valve seat for any signs of wear or corrosion.
- Examine the spout for any cracks or leaks.
- Sequentially shut off the water supply valves to determine if the leak stops.
Once you’ve identified the source of the leak, you can proceed with the appropriate repair steps based on your faucet type.
Fixing Rotary Ball Faucet Leaks
Suppose you’re dealing with a rotary ball faucet, begin by taking off the handle, cap, and rotary ball. Next, replace the seat washer, which is responsible for rectifying the leaky faucet. Before installing the new washer, coat it with plumber’s grease to ensure smooth operation.
After replacing the seat washer, reassemble the faucet, ensuring all components are securely in place. Test the faucet to ensure the leak has been resolved. If the leak persists, you may need to inspect other parts of the faucet for damage or wear.
Repairing Cartridge-Style Faucet Leaks
In case of cartridge-style faucets, initiate the process by taking out the Allen screw and metal handle adapter with the aid of a spanner cap and slip-joint pliers. If the cartridge is difficult to remove, you may need to use a cartridge-pulling tool for additional force.
Once the cartridge is removed, follow these steps to clean and inspect it.
- Clean any mineral buildup using distilled white vinegar and a scouring pad or rag.
- Inspect the cartridge for damage.
- Replace the O-rings or the entire cartridge if necessary.
When reassembling the faucet, ensure the cartridge is inverted and the rubber seals are properly installed. Test the faucet to confirm the leak is resolved.
How to Fix Bathroom Faucet Handle
If you’re wondering how to fix a bathroom faucet handle that’s giving you trouble, you’ve come to the right place. Dealing with a loose, leaky, or malfunctioning faucet handle can be frustrating, but with a few simple steps, you can regain control over your water flow. Whether it’s a minor adjustment, tightening a screw, or replacing a part, this guide will walk you through the necessary steps to restore your bathroom faucet handle to its proper working condition. With a few basic tools and a little know-how, you can save both time and money by tackling this repair yourself.
Addressing Ceramic Disc Faucet Leaks
To rectify leaks in a ceramic disc faucet, follow these steps:
- Begin by detaching the handle and taking out the disc cartridge.
- Inspect the cartridge for damage, such as cracked discs or worn rubber seals.
- If the seals are the issue, replace them.
- Reassemble the faucet.
If the disc cartridge itself is damaged, you’ll need to acquire a replacement from your local hardware store. When reassembling the faucet, make sure to follow these steps:
- Align the tabs on the cartridge with the notches in the faucet body.
- Reinstall the mounting screw or cap.
- Reattach the handle.
- Replace the decorative cap.
After reassembling the faucet, test it to ensure the leak has been resolved.
Dealing with Spout Leaks
Should you need to fix a leaky faucet sourced from the spout, worn O-rings beneath the spout demand your attention. To do so, remove the spout and handle, and replace the worn O-rings with new ones coated in plumber’s grease.
After replacing the O-rings, reassemble the faucet, making sure all components are securely in place. Test the faucet to confirm the leak is resolved.
Cleaning and Maintenance Tips
For warding off future leaks and extending your faucet’s lifespan, ensure routine cleaning and maintenance of your faucet components. Here are some steps to follow.
- Use vinegar to remove mineral deposits that may cause leaks or damage to the faucet parts.
- Regularly inspect your faucet components for any signs of wear or damage.
- Replace any worn or damaged components as needed.
By following these steps to fix a leaky faucet, you can keep your faucet in good condition and prevent leaks.
When completing repairs on an older ceramic disc faucet, it’s advised to leave the faucet open as water is turned back on, allowing any trapped air in the lines to be released. Proper cleaning and maintenance can save you time, money, and frustration in the long run.
Common Faucet Leak Troubleshooting
Even with your utmost diligence, you might run into some hurdles while trying to fix faucet leaks. If your faucet continues to drip water only during certain times or when the handles are moved in a particular manner, the home’s water pressure could be the source of the problem. Adjusting the water pressure may resolve the issue.
If the water flow through the faucet is slow, unscrew the aerator and clean it out to improve water flow. Additionally, if any components of your faucet are aged or impaired, it’s recommended to replace them to prevent future leaks.
Lastly, removing mineral deposits from faucet parts can be achieved by soaking them in vinegar. Regular cleaning and maintenance will help prevent future leaks and keep your faucet in top condition.
When to Call a Professional Plumber
Though numerous leaking faucet issues can be handled with a bit of DIY expertise, certain situations warrant the intervention of a professional plumber. If the leak persists despite your best efforts, or if the faucet requires extensive repairs, don’t hesitate to seek professional help. A skilled plumber can quickly diagnose and resolve the issue, saving you time and frustration.
Additionally, if you’re unsure of the location of your water main, it’s advisable to enlist the services of a professional plumber to help you identify and shut off the water supply before attempting any repairs.
Replacing a Faucet in the Kitchen
When it comes to upgrading your kitchen, one of the most impactful improvements you can make is replacing a faucet kitchen. Whether you’re looking to enhance the aesthetics of your kitchen or simply need a more functional and efficient faucet, this project can yield significant benefits. The process of replacing a faucet in the kitchen may seem daunting, but with the right tools and a clear understanding of the steps involved, it’s a manageable DIY project. In the following lines, we’ll guide you through the essential steps to successfully replace your kitchen faucet, providing you with a functional and stylish upgrade for this important part of your home.
Summary
In conclusion, fixing a kitchen faucet leak is a vital task to ensure the longevity of your plumbing system and prevent costly repairs. By identifying your faucet type, gathering essential tools and materials, locating the leak source, and following the appropriate repair steps, you can confidently tackle this common household problem. Don’t forget to regularly clean and maintain your faucet components to prevent future leaks and keep your faucet in optimal condition. With the right knowledge and tools, you can save both water and money by fixing your leaky faucet with ease.
Frequently Asked Questions
Why is the bottom of my kitchen faucet leaking water?
The most common cause of a leaking kitchen faucet is worn or damaged hardware, such as a defective O-ring, worn valve seat, cracked gaskets, worn-out washers, loose nuts and bolts, or a clogged aerator.
All these parts can be easily fixed with a basic faucet repair kit.
How do you fix a leaky kitchen faucet stem?
Turn off the water supply, then remove the handle with a crescent wrench or pair of pliers.
Finally, take out the stem and replace it.
How do I identify the type of kitchen faucet I have?
Examine the handle and spout design to identify the type of kitchen faucet you have – rotary ball faucets have a single handle on a rounded cap, cartridge-style faucets have two separate handles for hot and cold water, and ceramic disc faucets have a single lever controlling water flow.
What should I do if the leak persists after trying to fix it myself?
If the leak persists, it’s best to call a professional plumber for assistance.
How can I prevent future faucet leaks?
Keep your faucet components clean and well-maintained, using vinegar to remove mineral deposits and replacing worn or damaged parts when necessary to help prevent future leaks.
The post How to Fix a Kitchen Faucet Leak Easily in 2023 appeared first on Kitchen Infinity.
[ad_2]
kitcheninfinity.com


