
[ad_1]
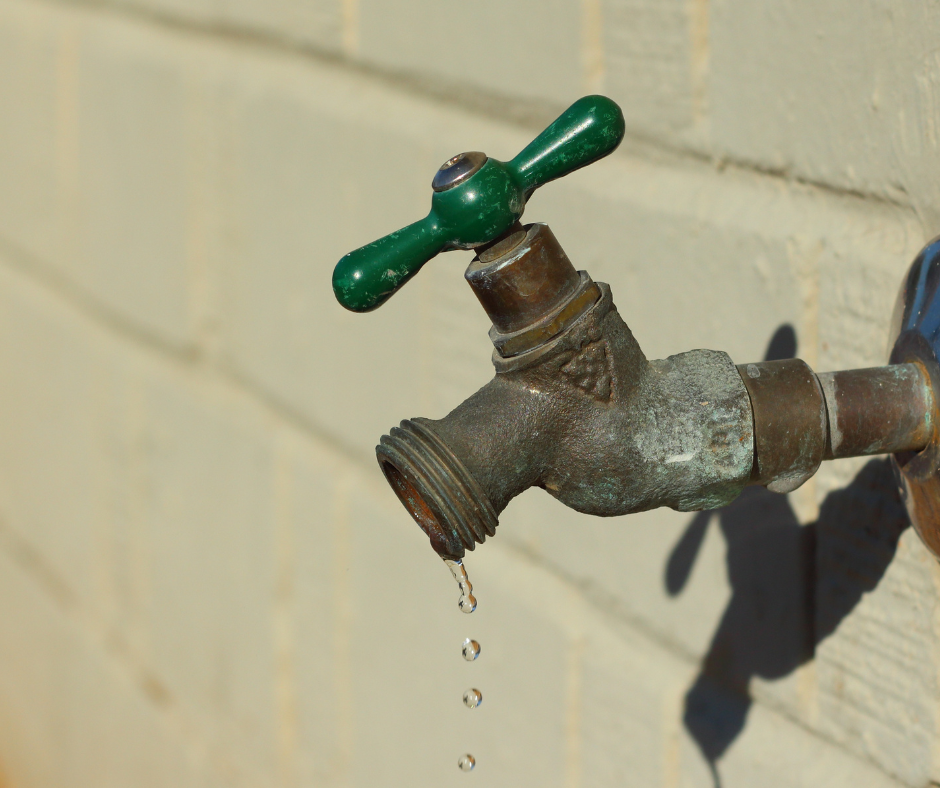
Are you tired of that annoying dripping sound coming from your outdoor faucet? Have you noticed skyrocketing water bills or water pooling around the spigot? Fear not! This step-by-step guide will help you diagnose and fix that pesky faucet leaking outside, saving you time, money, and frustration.
Key Takeaways
- Identify the source of a leaky outdoor faucet and follow appropriate solutions for packing nut, vacuum breaker cap or faucet stem leaks.
- Assemble essential tools and adhere to safety measures before repairing an outdoor faucet.
- Regular inspections, winterizing & replacing worn parts are key preventative maintenance steps. Call a professional plumber if DIY repairs fail or complex issues persist.
How to Fix a Leaky Faucet
If you’re wondering how to fix a leaky faucet, you’ve come to the right place. A dripping faucet can not only be annoying but also waste a significant amount of water and increase your water bill. Fortunately, repairing a leaky faucet is a relatively straightforward DIY task that doesn’t require advanced plumbing skills. In this guide, we’ll walk you through the steps to diagnose and resolve common faucet leaks, whether it’s a slow drip or a constant trickle. By following these simple instructions, you can save water, money, and the frustration of that persistent dripping sound. Let’s get started on fixing that leaky faucet!
Identifying the Source of the Leak

It’s vital to pinpoint the exact source of a leaky outdoor faucet to prevent damage to your garden, house foundation, and wallet. Common areas to inspect for leaks include the packing nut, vacuum breaker cap, and faucet stem.
So, how do you determine which one is the culprit? Start by examining each area closely.
- A packing nut leak is usually found around the handle of the spigot.
- A vacuum breaker cap leak occurs near the top of the faucet.
- Faucet stem leaks, on the other hand, are often more hidden and require turning off the water supply to detect.
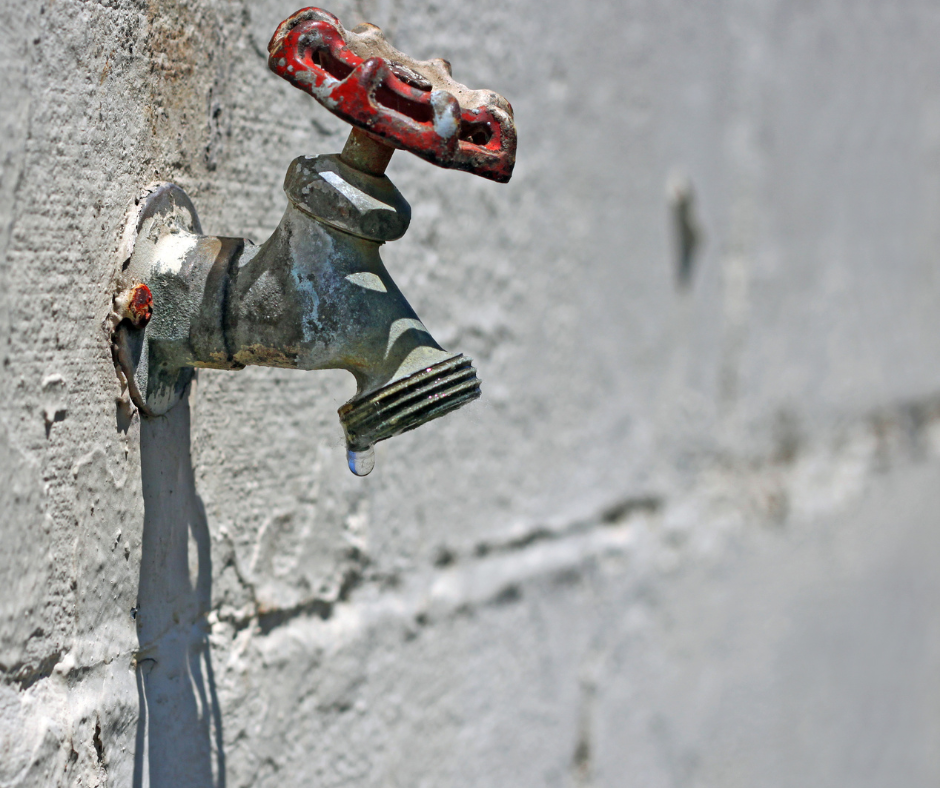
Packing Nut Leak
A packing nut leak is a common issue in leaky spigots. If you spot water dripping around the handle, chances are it’s a packing nut leak. Fortunately, resolving this type of leak can be as straightforward as tightening the packing nuts, or substituting them if a worn-out washer is the source of the problem in your leaky spigot.
With an adjustable wrench, aim to tighten the packing nuts behind the handle with 12 to 18 turns, a key step to keep your faucet freeze-proof. Then turn the faucet on and check for any drips to ensure the faucet washer is functioning properly.
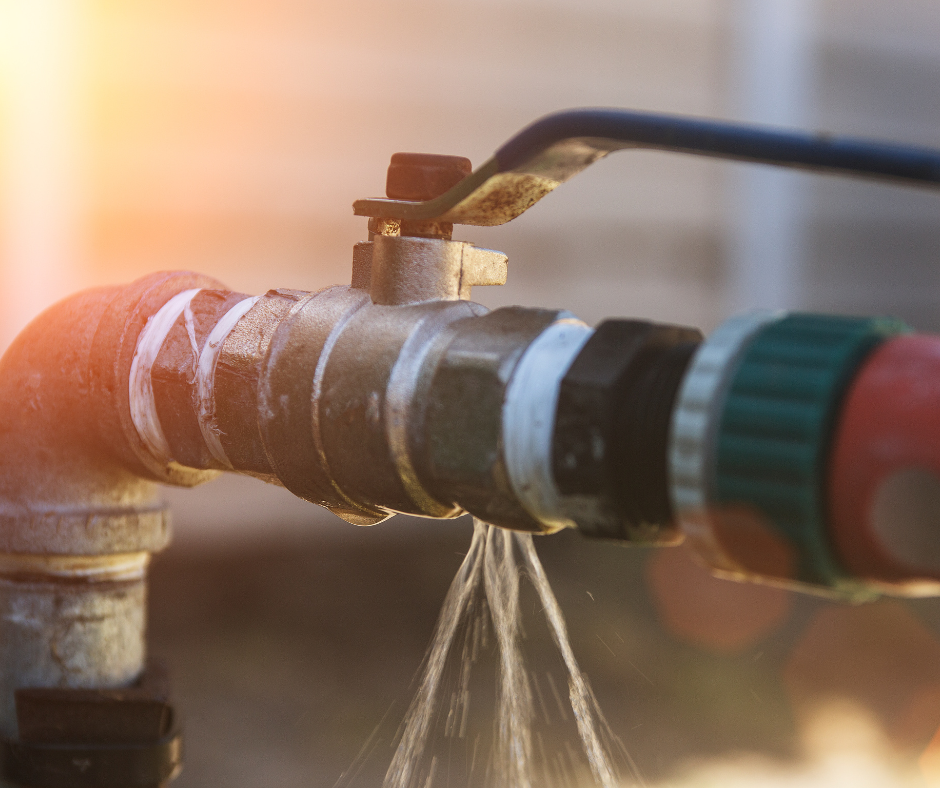
Vacuum Breaker Cap Leak
A vacuum breaker cap leak occurs when the cap is cracked, causing water to leak from the frost-free faucet. To access the components beneath the vacuum breaker cap, gently pry it from both sides using a pair of screwdrivers.
If cleaning the components and reinstalling them doesn’t resolve the issue, you might need to replace the vacuum breaker cap. Replacing the vacuum breaker is relatively simple, but it’s a good idea to take the existing part to a hardware store to ensure the replacement part is an exact fit for your specific spigot.
Faucet Stem Leak
Locate the valve inside the house to turn off the water to the exterior faucet. Close the valve (or the main water valve) to detect a faucet stem leak. Then, remove the faucet stem to reveal the small rubber washer on the end of the valve stem, which can wear out over time and no longer provide a water-tight seal, causing a hose spigot to leak.
To fix a faucet stem leak, replace the washer assembly. After replacing the washer, turn the water supply back on and observe for any signs of leakage.
Preparing for Repair: Tools and Safety Measures
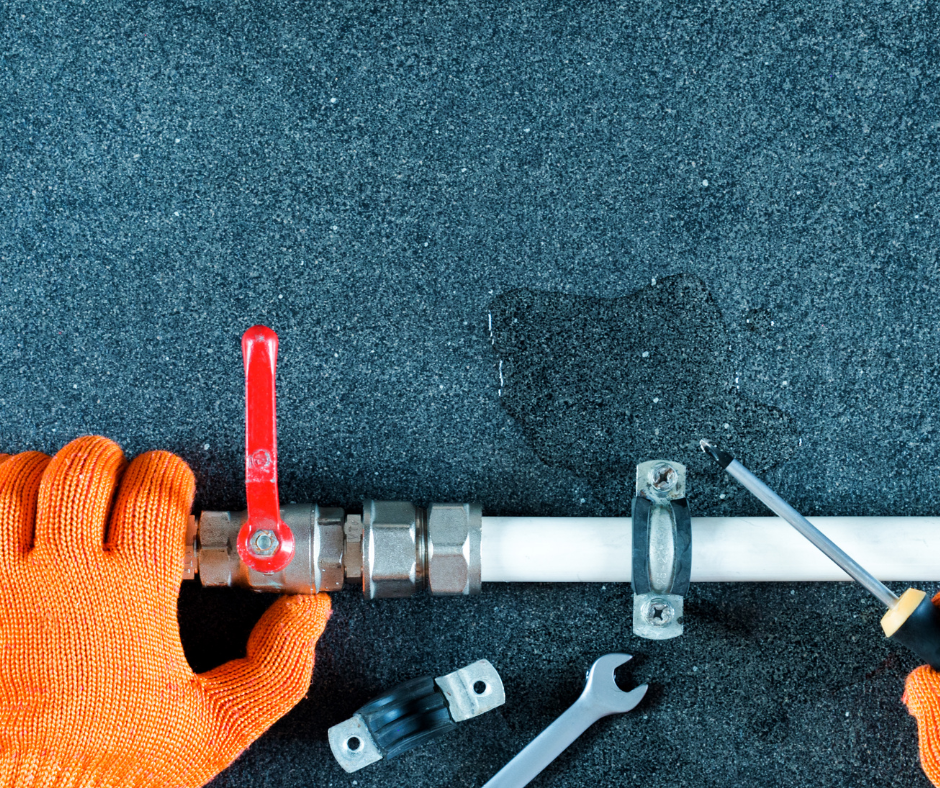
Before embarking on the repair process, it’s important to assemble the right tools and adhere to necessary safety precautions. This will ensure a smooth and safe repair experience. The essential tools required for repairing a leaky outdoor faucet include:
- A wrench
- A screwdriver
- A set of pliers
- A new packing nut
In terms of safety measures, deactivating the water supply is a prerequisite. This prevents any issues when removing the packing nuts to access the faucet stem. Also, make sure to relieve any remaining water pressure in the pipes by opening the outdoor faucet and allowing any residual water to drain out.
Essential Tools
For a successful repair, you’ll need the following tools:
- Adjustable wrench: used to secure or unfasten nuts and bolts
- Pliers: used to grip and hold objects, as well as to bend and cut wire
- Screwdrivers: used to tighten or loosen screws
Lastly, the screwdriver is used to tighten or loosen screws. These tools will help you repair the identified leak with ease.
Safety Measures
Before starting repairs, always turn off the water supply and release any remaining water pressure. To deactivate the water supply, rotate the water shut-off valve clockwise to horizontal or until it can no longer turn if the valve employs a knob.
Once the water supply is turned off, open the outdoor faucet to expel any residual water that remains in the pipes. With these safety measures in place, you’re ready to proceed with the repair.
Step-by-Step Guide to Fixing a Leaky Outdoor Faucet
Having identified the source of the leak and prepared the necessary tools and safety measures, let’s proceed to the step-by-step guide to fixing a leaky outdoor faucet. This guide will cover various types of leaks such as packing nut leaks, vacuum breaker cap leaks, and faucet stem leaks, along with their respective solutions. By following these steps, you’ll be well on your way to a leak-free outdoor faucet in no time.
First, ascertain the origin of the leak by investigating the packing nut, vacuum breaker cap, or faucet stem. Then prepare for the repair by gathering an adjustable wrench and other essential tools. Depending on the type of leak, you’ll follow the steps for tightening or replacing the packing nut, cleaning or replacing the vacuum breaker cap, or repairing or replacing the faucet stem.
Faucet Leaking Shower
If you’ve ever encountered a faucet leaking in your shower, you know how frustrating and inconvenient it can be. A faucet leaking shower not only wastes water but also leads to increased water bills and potential damage to your bathroom fixtures. The constant drip, drip, drip can disrupt your peaceful bathing experience and keep you up at night. Fortunately, addressing a faucet leaking in the shower is a manageable task that, when tackled promptly, can save you both money and peace of mind. In this guide, we’ll explore some common causes of faucet leaks in showers and provide you with tips on how to diagnose and fix the issue, ensuring your showers remain a refreshing oasis rather than a dripping nuisance.
Tightening or Replacing the Packing Nut
To fix a packing nut leak, follow these steps:
- Use an adjustable wrench to loosen the packing nut situated behind the handle of the faucet.
- Unscrew the handle to access the washer assembly.
- Once the handle is removed, you should be able to gain entry.
- If the issue is caused by a worn-out washer, simply replace it with a new one.
After replacing the washer, reassemble the faucet by following these steps:
- Replace the screw at the end of the faucet stem or faucet handle.
- Return the handle to its original position.
- Turn the packing nut clockwise until it is secured.
This action should rectify the packing nut leak.
Cleaning or Replacing the Vacuum Breaker Cap
To fix a vacuum breaker cap leak, start by removing the cap. Once the cap is removed, you will have access to the parts underneath. Clean the cap thoroughly using a brush or cloth, ensuring any debris or buildup is removed. After cleaning the cap, reinstall it by pressing it back into place.
If cleaning the cap doesn’t resolve the leak, you may need to replace the vacuum breaker cap. Take the existing cap to a hardware store to ensure the replacement part is an exact fit for your specific spigot. Then, install the new cap by firmly pressing it into place.
Repairing or Replacing the Faucet Stem
To fix a faucet stem leak, follow these steps:
- Turn off the water supply to the exterior faucet.
- Remove the faucet stem to reveal the small rubber washer on the end of the valve stem.
- If the washer is worn out, replace it with a new one.
After replacing the washer, turn the water supply back on and observe for any signs of leakage. If there are no leaks, the faucet stem repair is complete.
Preventative Maintenance Tips
Resolving a leak is just part of the solution; maintaining your outdoor faucets can avert future leaks and extend your faucet’s lifespan. By following these preventative maintenance tips, you can save yourself time, money, and frustration down the line.
Conducting regular inspections, winterizing outdoor faucets, and substituting worn parts are all integral to maintaining your faucets in peak condition. By incorporating these practices, you’ll ensure that your outdoor faucets remain leak-free and functional for years to come.
Regular Inspections
Conducting regular inspections of your faucets has numerous advantages, including:
- Avoiding leaks
- Preserving efficiency
- Detecting issues early
- Prolonging faucet lifespan
- Contributing to the overall health of your plumbing system
It is recommended to inspect your faucets at least once a year, or more frequently if the faucet is used often.
During these inspections, check for signs of deterioration, such as corrosion, cracks, or leaks, and evaluate water pressure, flow rate, and the condition of the water meter.
Winterizing Outdoor Faucets
Winterizing outdoor faucets is crucial for preventing freezing and damage that may occur when temperatures drop below freezing. To winterize your outdoor faucets, turn off the water supply, disconnect the hoses, and cover the faucet with an insulated cover.
By taking these precautions, you’ll protect your freeze proof faucet and ensure the use of frost proof faucets during the harsh winter elements.
Replacing Worn Parts
Replacing worn-out washers, valve stems, and other components before they cause leaks is a smart preventative measure. Not only will this help you avoid additional damage to the faucet, but it will also cut down on water waste and improve the overall performance of the faucet.
By addressing worn parts early on, you’ll keep your outdoor faucets in great working condition.
When to Call a Professional Plumber
Although DIY repairs can often be effective, there are instances when it’s advisable to seek the help of a professional plumber for outdoor faucet leaks. Complex repairs or persistent issues may require the expertise of a professional to ensure the problem is resolved properly and efficiently, even an outdoor faucet leak that might seem simple at first glance.
Don’t hesitate to consult a professional plumber if your DIY repairs are unsuccessful or if the issue recurs regularly. A professional can offer valuable guidance and expertise, ensuring that your outdoor faucets remain leak-free and functional for the long haul.
Complex Repairs
If you encounter a situation where the repair is beyond your capabilities, or if the issue remains unresolved after you’ve attempted to fix it, it’s time to call a professional plumber.
Complex repairs may involve:
- Damaged components
- A spitting faucet
- Audible noises from the faucet
- Rust and mineral deposits
- A squeaky handle
In these cases, a professional plumber can provide the necessary expertise to fix the issue and prevent further damage.
Persistent Issues
If your DIY repairs fail to resolve the leak or if the problem recurs frequently, it’s advisable to seek professional help. The persistence of the problem could be due to a lack of expertise in plumbing repairs or because the issue is more complex than anticipated.
A professional plumber can assess the situation, diagnose the root cause of the leak, and execute the repair correctly, ensuring a long-lasting solution.
Replacing a Faucet in the Kitchen
When it comes to kitchen maintenance and upgrades, one essential task that often arises is replacing a faucet in the kitchen. Whether you’re looking to update the aesthetics of your kitchen or fix a leaky, outdated faucet, this project can make a significant difference in both functionality and appearance. Before embarking on this DIY endeavor, it’s essential to gather the necessary tools and materials, such as a new faucet, adjustable wrenches, plumber’s tape, and a bucket. Additionally, make sure to turn off the water supply to your kitchen sink before starting the replacement process. With some careful planning and attention to detail, replacing a faucet in the kitchen can be a satisfying and relatively straightforward home improvement project.
Summary
Fixing a leaky outdoor faucet may seem daunting at first, but with this comprehensive guide, you have all the information and steps necessary to tackle the issue head-on. Remember to identify the source of the leak, gather the essential tools, and follow safety measures before diving into the repair process. By following this guide and incorporating preventative maintenance tips, you’ll save time, money, and frustration, ensuring your outdoor faucets remain leak-free and functional for years to come. So roll up your sleeves and say goodbye to that pesky leak!
Frequently Asked Questions
How do I stop my outside faucet from dripping?
To stop your outside faucet from dripping, tighten the packing nut with 12 to 18 turns or replace the packing nut or washer.
If a screw is in the center of the handle, follow the same steps for tightening it instead.
How do you replace an O ring on an outside faucet?
Replacing an O-ring on an outside faucet is a simple process: remove the handle and bonnet screw, pull off the old o-rings and replace them with matching spigot o-rings.
You can purchase repair kits for less than $10 which usually come with all of the parts required.
Why is my faucet leaking at the base when off?
It appears that your faucet is leaking at the base due to either worn-down O-rings or a loose or damaged seat washer. O-rings are the most common fluid power seals for preventing leaks, and problems with washers are common in sink faucets.
Constant leaks occur even when the sink is off.
Why does my outside frost free faucet leak?
The most common cause for a leaking outside frost free faucet is a loose retaining nut, which can be tightened to fix the issue.
If this does not resolve the leak, further inspection may be needed to check for worn-out stem washers, damaged pipes, a clogged vacuum breaker, or other problems.
How do I identify the source of my leaky outdoor faucet?
Inspect the packing nut, vacuum breaker cap, and faucet stem to identify the source of the leaky outdoor faucet.
Check for any visible damage or corrosion. If the packing nut is loose, tighten it with a wrench. If the vacuum breaker cap is cracked or damaged, replace it. If the faucet stem is worn or corroded.
The post How to Fix a Faucet Leaking Outside in 2023 appeared first on Kitchen Infinity.
[ad_2]
kitcheninfinity.com


