
[ad_1]
A ceiling fan pull chain is a convenient way to adjust a ceiling fan’s speed without resorting to a wall switch. Apart from lighting, they also make great home decor pieces thanks to their beauty. If the pull chain is stuck or broken, it can be difficult or impossible to control the fan from that particular switch.
Fortunately, replacing the pull chains is a relatively simple DIY project in most cases. With this article’s help, you can learn how to easily fix a ceiling fan chain. Let’s get started!
What You Need
- A ladder
- Pliers
- Small screwdriver
- New ceiling fan pull chain
- Wire stripper
- Wire nuts
- Voltage tester
Instructions
Step 1 – Locate the Problem with the Chain
Before you begin working with the ceiling fan pull switch, it is important to determine what exactly is wrong with the chain. As you pull on it, does it break off in your hand? If so, there are usually replacements for these chains available at your local home improvement store or a local hardware store near you.
/broken-fan-pull-chain-switch-4775179-hero-31f04775f34f41678f94d62e4bbfab77.jpg)
It may be that the chain is just a little too tight, and it cannot move freely. In this case, loosen the screws on either side of the pull chain using a screwdriver. Turn them just a little bit to increase the slack in the chain.
Step 2 – Turn off Power to the Ceiling Fan
It’s also important to turn off the power to the fan pull chain switch. Find the correct breaker in your home’s electrical box that controls power to the ceiling fan. Turn it off or flip it to the “off” position, so there is no current running through the fan’s cables.
Step 3 – Remove Access Panel on Ceiling Fan
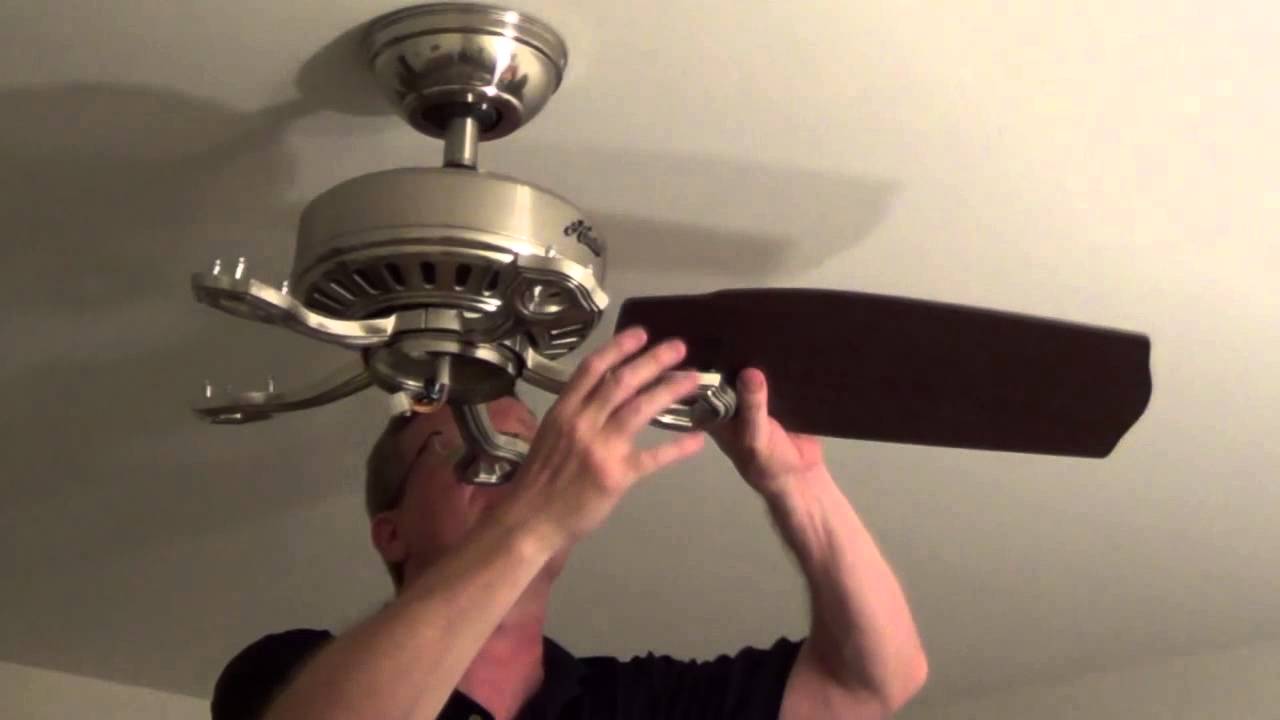
Climb the ladder to reach the ceiling fan’s access panel. The access panel can be removed by unscrewing screws holding it in place. Place the screws in a bowl to keep them safe, and then lift or slide off the access panel on your ceiling fan.
Step 4 – Locate Chain that Loosens Blades
Look for the chain you pulled down in Step 1 of this process. You should connect the end to either the bottom-most blade or the one next to it. The end of this chain will usually have a small knob or ball on it, which is part of how you adjust the length of the chain so that blade height can be changed.
Step 5 – Pull out the Pull Chain Switch
A fan chain switch is usually a plastic unit found between the chain and the motor housing of your ceiling fan. You can’t miss it because a knob on one end attaches to the chain while the other side has a long, round tube with several wires going into it.
Unscrew or pop off the cap on this end of the switch and pull out the inner tube. This tube should be long enough to act as a good pull chain.
Step 6 – Prepare the Pull Chain Switch
Cut off any excess plastic surrounding the tube with a razor blade or sharp utility knife. Then, unscrew these wires from the fan light switch and strip away about 1/4″ of insulation on each wire, so you have exposed copper wiring. Attach the wires of your pull chain switch to these using wire nuts or electrical tape.
**Note: You can also attach one wire of the pull chain to the white wire of the fan and another to the black wire, which will ensure that power is always applied when you turn on your ceiling fan.
Step 7 – Attach New Pull Switch
For safety precautions, it’s advisable not to return the old pull switch to the ceiling fan. Instead, replace it with a new one with a pull chain for easier use. To do this, you need to detach it from the fan. To remove your current old switch, detach the two wires connected to it by unscrewing the wire nut holding them together.
Once this is done, attach the new switch in place of your old one using a new wire nut or electrical tape. Then re-attach one of the switch wires you previously detached to the new switch and tighten the wire nut or tape it down securely. Do the same thing for the other wire, and you’re all set.
Step 8- Test Switch
Before putting everything back in place, do a final test to ensure everything is working properly. To do this, plug your fan into an outlet and turn the new switch on by flipping the new pull cord switch. If the fan turns on, congratulations! You did it! If not, make sure no hair or fur is impeding its movement.
Also, double-check that your switch has its wires attached properly by checking for continuity between each of the terminals on your old switch and making sure it matches the picture of proper wiring on your new switch.
If everything checks out okay, screw the switch back in place and plug your fan in to test it out. If the fan still doesn’t turn on, you’ve most likely blown a breaker or have another issue that’s more complex than the scope of this tutorial.
Step 9 – Reassemble Ceiling Fan
If everything is working correctly, it’s time to return everything back to its place. Reattach all the fan blades, screws and your ceiling fixture back in its original position. Then, turn on the circuit breaker (or flip the fuse) to see if your fan is working properly before you re-cover it with the canopy.
If you’ve added a new light kit, use the screws and mounting bracket to attach your fixture back to its original position. This will also turn on the lights so you can test them before reattaching the cover.
FAQs About Fixing Ceiling Fan Chain
Can you fix a broken pull chain on a ceiling fan?
If you have a broken chain in the ceiling fan, the best thing to do is replace it. Fixing a completely broken pull chain is possible, but getting the ceiling fan operating smoothly again may take some work. You also risk your safety if you fix it instead of replacing it with a new switch.
Why is my ceiling fan light fixture not working properly?
There are a few possibilities. The first thing to check is your fan’s bulb or light kit. You may have burned out the light if one of them is no longer working. If this isn’t the problem, you can try tightening screws on your fixture to ensure that everything is secure.
If the new fan switch doesn’t work, you may need to replace the light fixture. If neither of these solutions works, then it is possible that your fan has a faulty pull-chain or switch. You may have to replace your pull-chain or switch on the wall to fix this problem.
Can you use a ceiling fan light for kitchen lighting?
Ceiling fan lights work well for small kitchens because they produce a soft glow that is aesthetically pleasing and flattering to the eyes. They can be installed either flush or semi-flush with the ceiling, which means that you do not have to worry about them getting in the way of your cooking area (unlike chandeliers). Ceiling fans are also a great choice for kitchen lighting for anyone living in warm, humid locations as they provide a cooling breeze.
Final Thoughts on How to Fix Kitchen Fan Lighting
Fixing kitchen fan lighting is not a complicated task as long as you already know the exact problem you are facing. If your light fixture is steadily losing wattage, then it may need to be replaced altogether. However, if the bulb has gone out or the problem lies with the wiring or switch, then you should be able to fix this yourself without having to spend much money on repairs. This is a simple DIY project.
The post How To Fix A Ceiling Fan Chain appeared first on Kitchen Infinity.
[ad_2]
kitcheninfinity.com


